Computer Cable Coasters
It's time to untangle that nest of outdated power cords
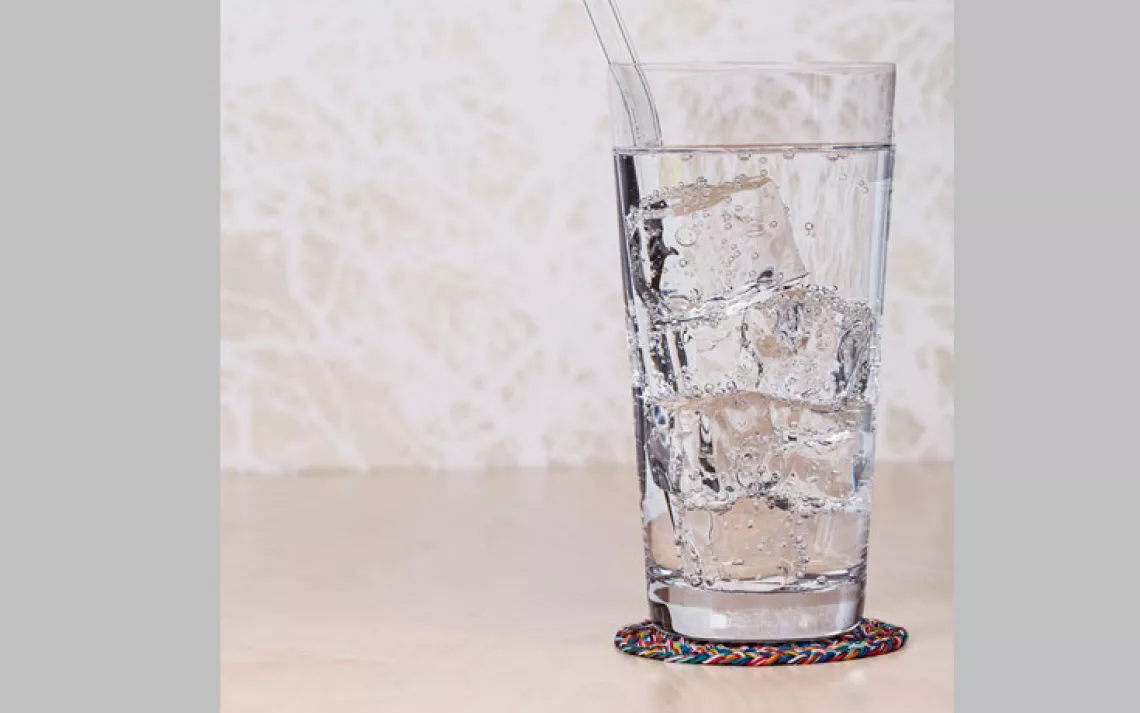
Click through the slideshow to see how to turn computer cables into coasters. | Photo by Lori Eanes
My editor at Sierra bugged me for years to find a good use for old cords and cables. I ignored him, of course. Sure, we all have an ungainly stash of them that are now incompatible with our current electronics. But they're unattractive and hard to work with. USB bracelet? No, thank you.
Turns out, old cords and cables are to e-waste what Burmese pythons are to the Florida Everglades. No one knows how many are out there--only that they're a huge and expanding problem. They grow obsolete quickly because manufacturers are eager for increases in power and data-transfer capacity, and want to avoid the cost and complexity of making new machines compatible with old connectors, according to Barbara Kyle, national coordinator for the Electronics TakeBack Coalition.
The good news is that there's some movement toward mandating universal connectors. In March, the European Union issued a directive requiring mobile phones, tablets, and other devices to be compatible with a universal charger by 2016.
In the meantime, I had a directive of my own. I tried weaving, stacking, hanging, and beading my cords, but nothing worked. Finally, I stripped away the outer insulation of an old monitor cable, peeled off the shielding (tin foil, basically), and discovered the beauty within--a rainbow of supple, colorful wires that I braided and coiled into a coaster. A little epoxy glue wrapped it all up
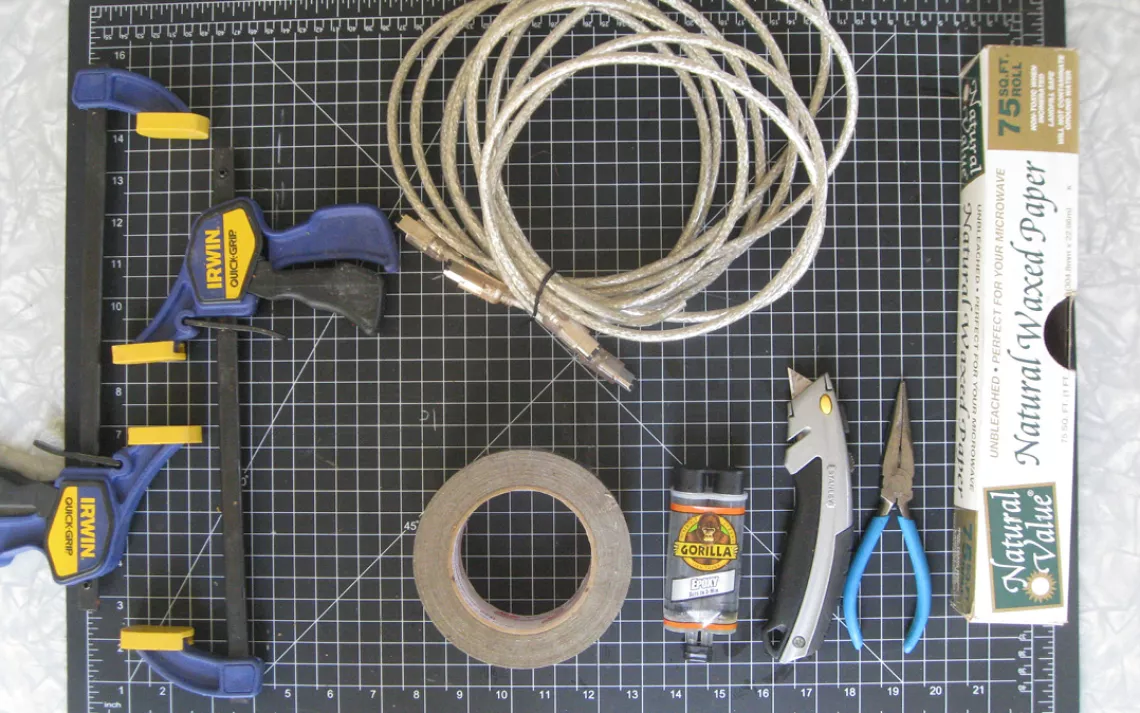
What You'll Need:
Long USB cable (6 foot with at least three pins is ideal)
Wire cutters
Box cutter
Duct tape
Scissors
Wax paper (optional)
Iron and ironing board (optional)
Clear Epoxy (optional)

Step 1: Choose your cable--some work better than others for this project. A minimum 6-foot cable with numerous pins at both ends is ideal because it has a lot of wires inside. (Note that the cables shown in the materials photo are about 5 feet, 8 inches with only three pins, and one ended up being usable because the wires inside were a bit thicker.) I found that a shorter cord with very thin wires inside didn't produce a big-enough coaster. But you can use shorter cords if you have two or more identical ones. You just have to attach the wires from the two cords together (see step 11).
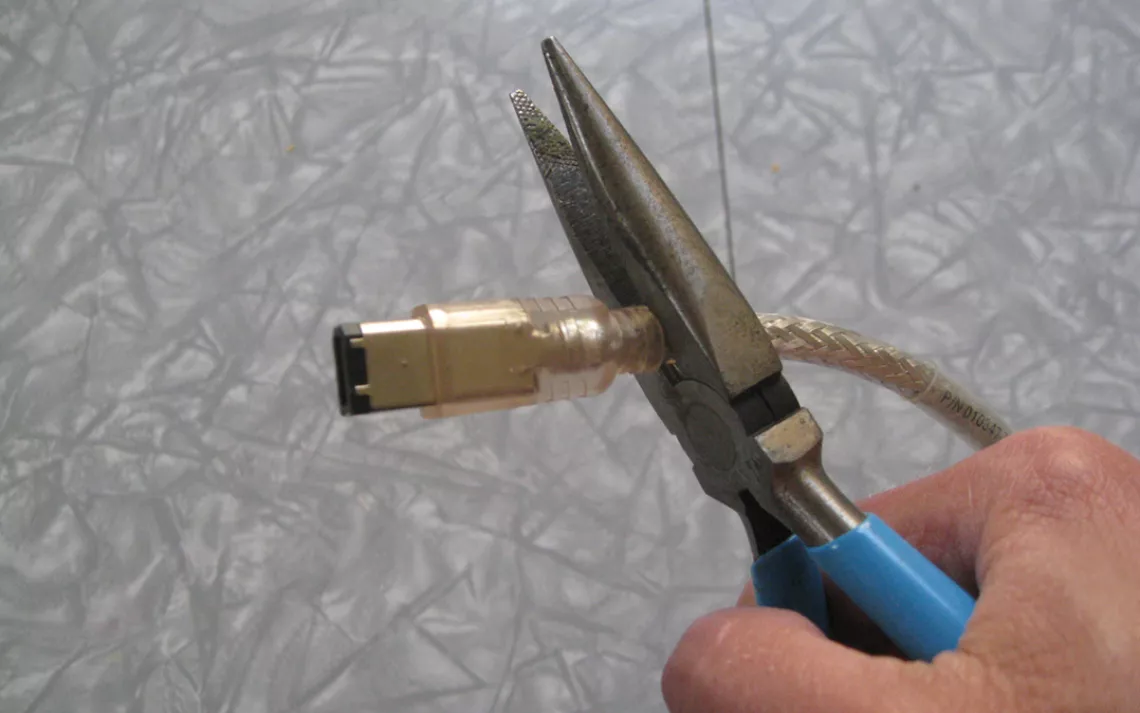
Step 2: Snip off the ends of the cord with the wire cutters.
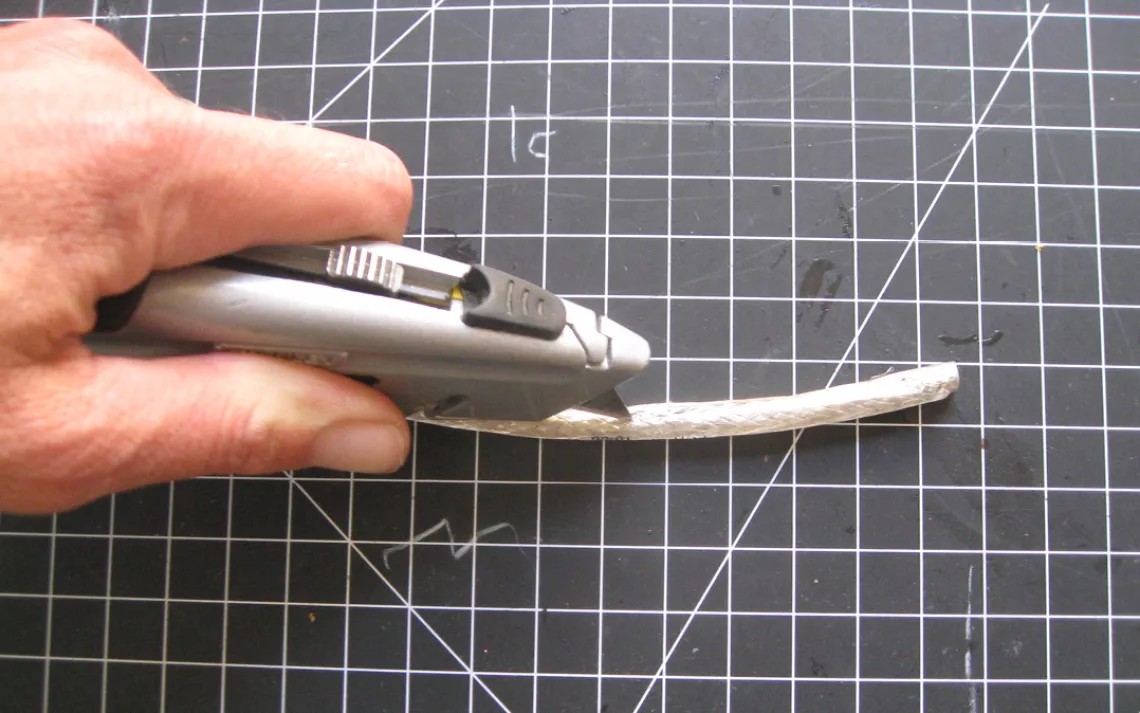
Step 3: Slice open the plastic shield with a box cutter and pull it off.

Step 4: Strip away any foil casing (there may be several layers of this).
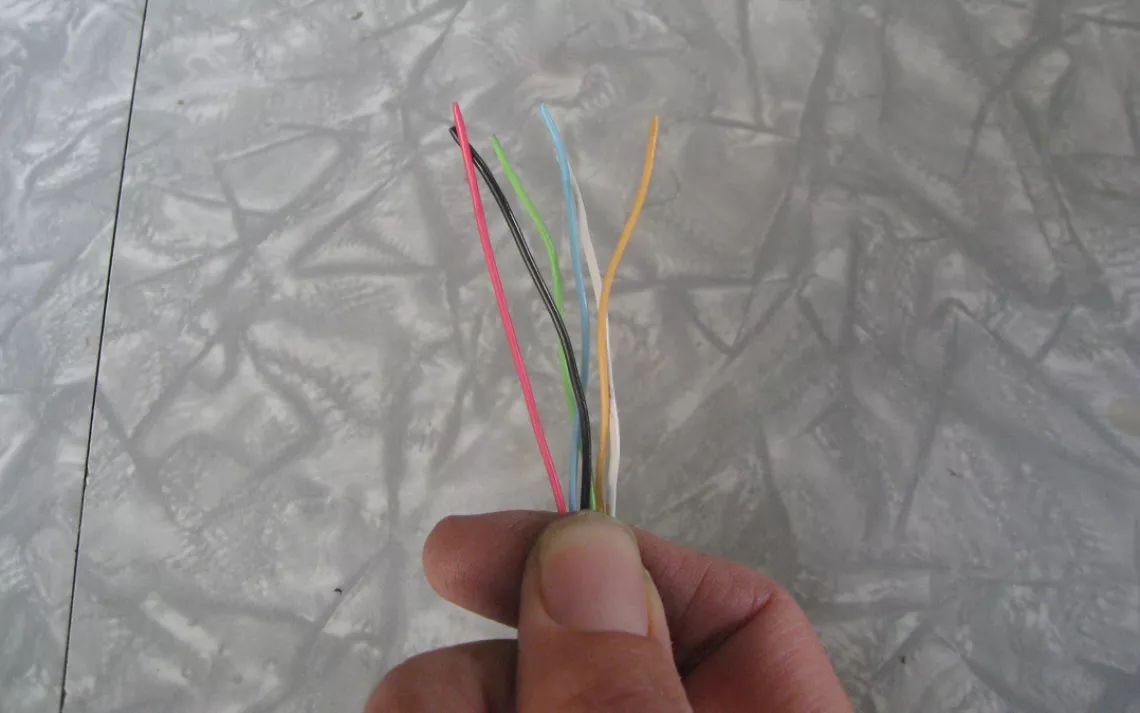
Step 5: Extract the colorful wires.
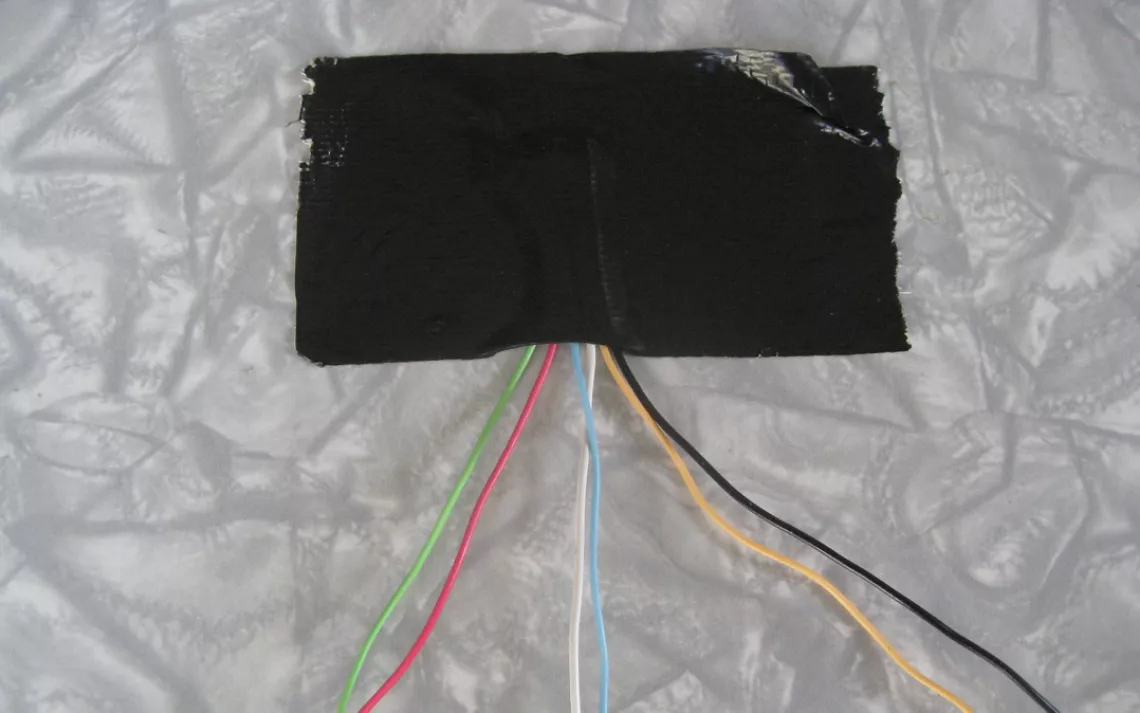
Step 6: Group the wires into three strands, and duct tape the end of the wires to the table (the cord I used had six wires inside, so there were two per strand, but I also made coasters with strands of three or four wires each.)
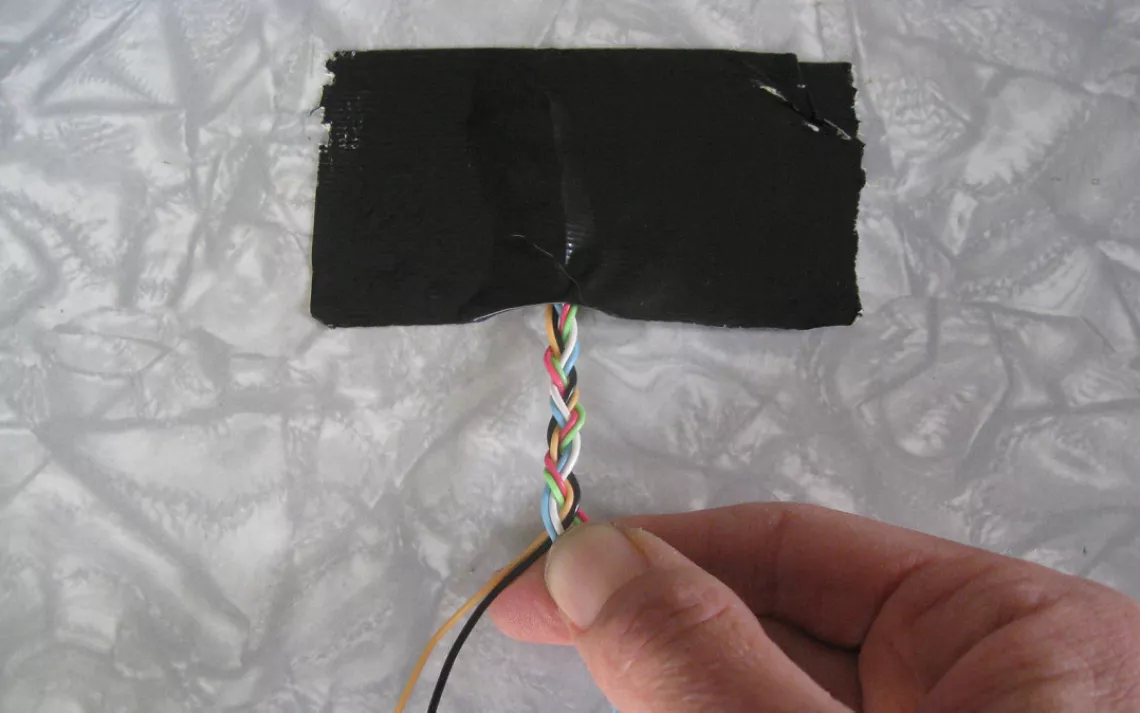
Step 7: Start braiding the three strands.
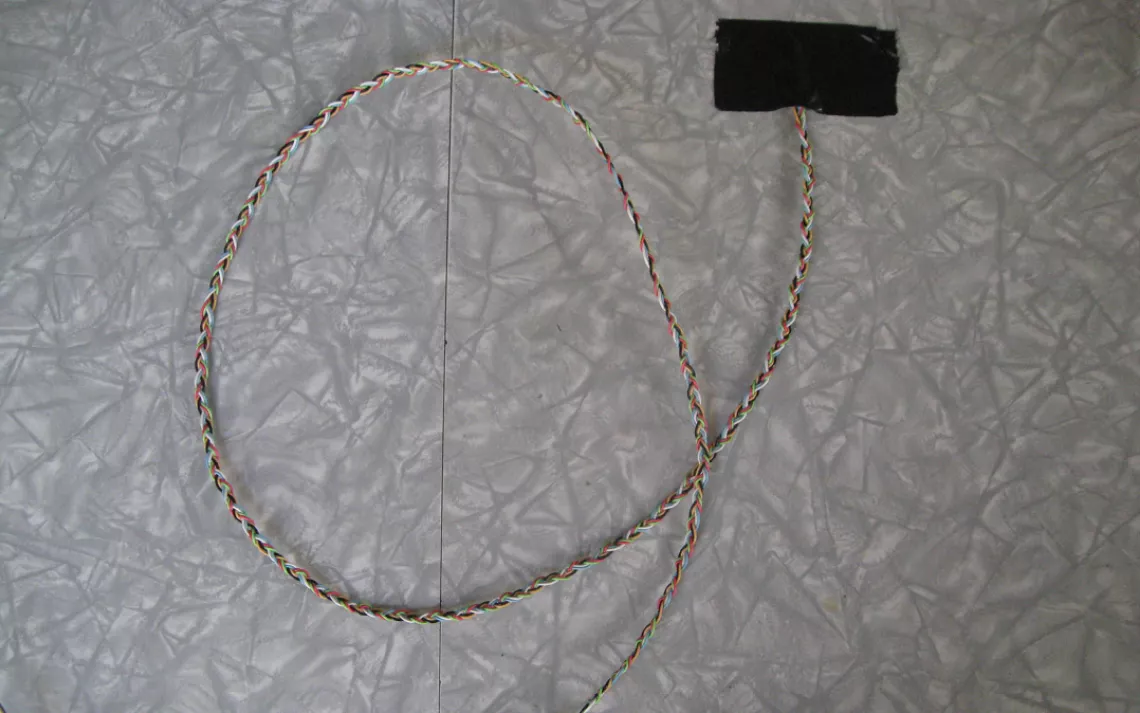
Step 8: Continue until you have one long braid. Duct-tape the end to keep it from unraveling.
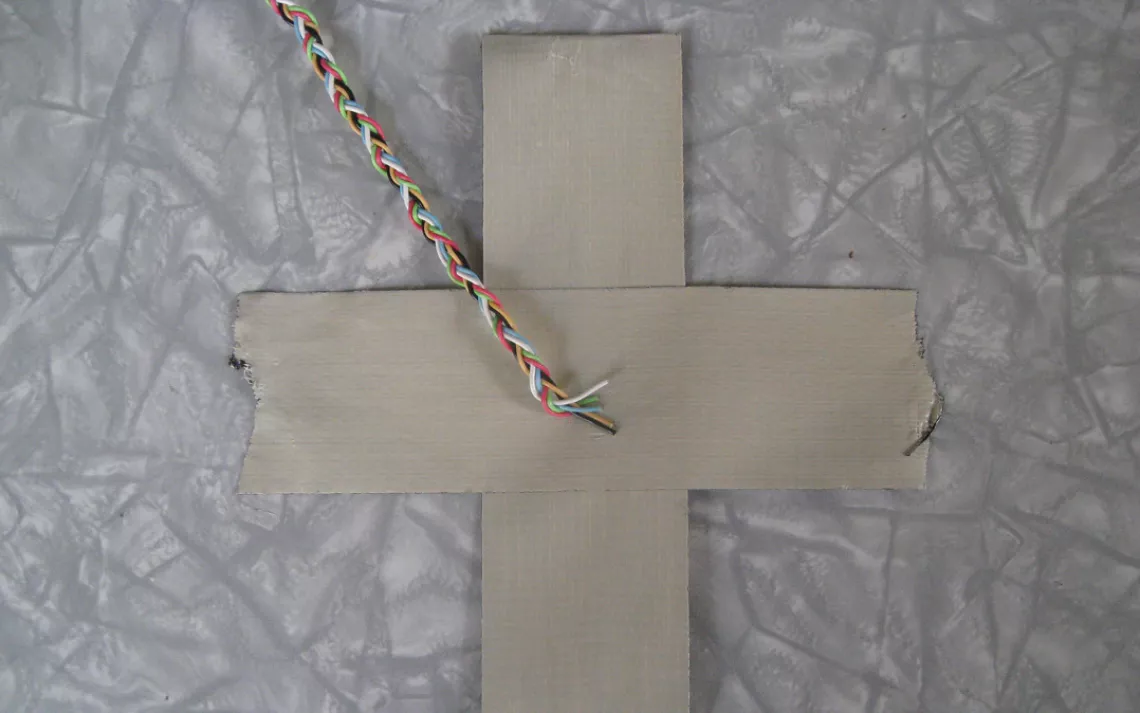
Step 9: Make a cross with two pieces of duct tape. Fold the ends so it sticks to the table. Position one end of the braid in the center and press it so it sticks.

Step 10: Start to coil the braid tightly, avoiding gaps and pressing it flat against the duct tape. (Note: The side you see will be the bottom side of the coaster, so the loose strands in the center should actually stick up a little. That way, they will be less conspicuous on the top side).
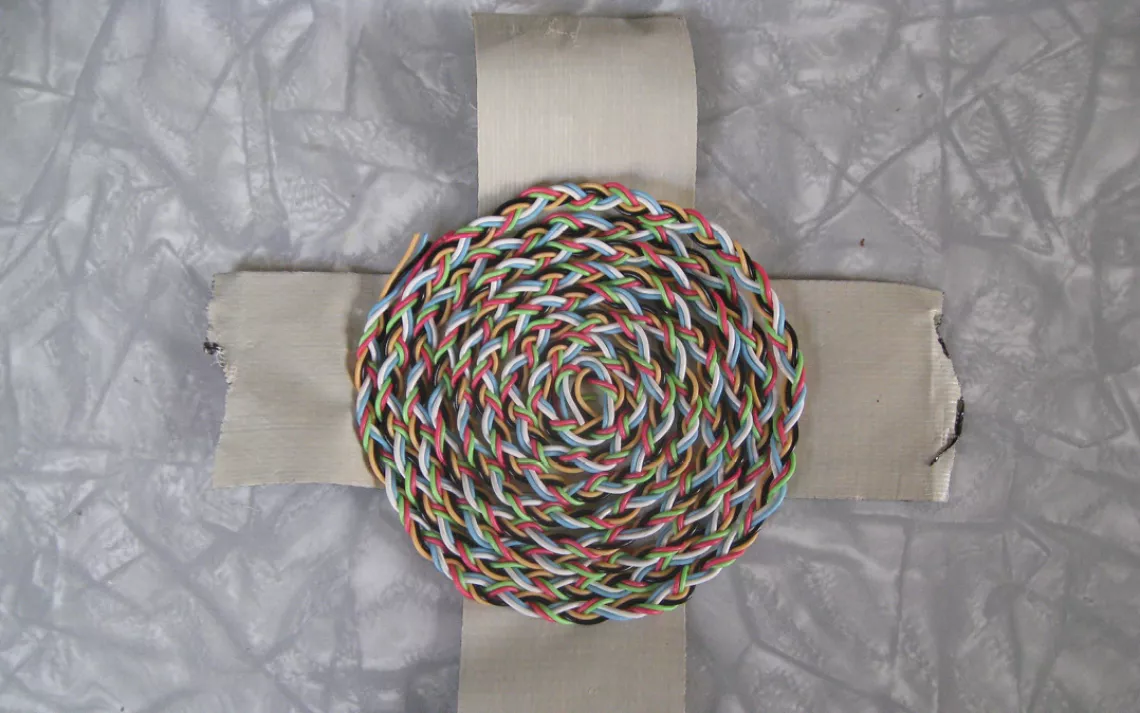
Step 11: Keep coiling until you have run out of braid. If you have two braids, because you used two shorter identical cables instead of one long one, just add the second braid on with the ends poking up a bit, not tucked into the duct tape, and keep coiling.
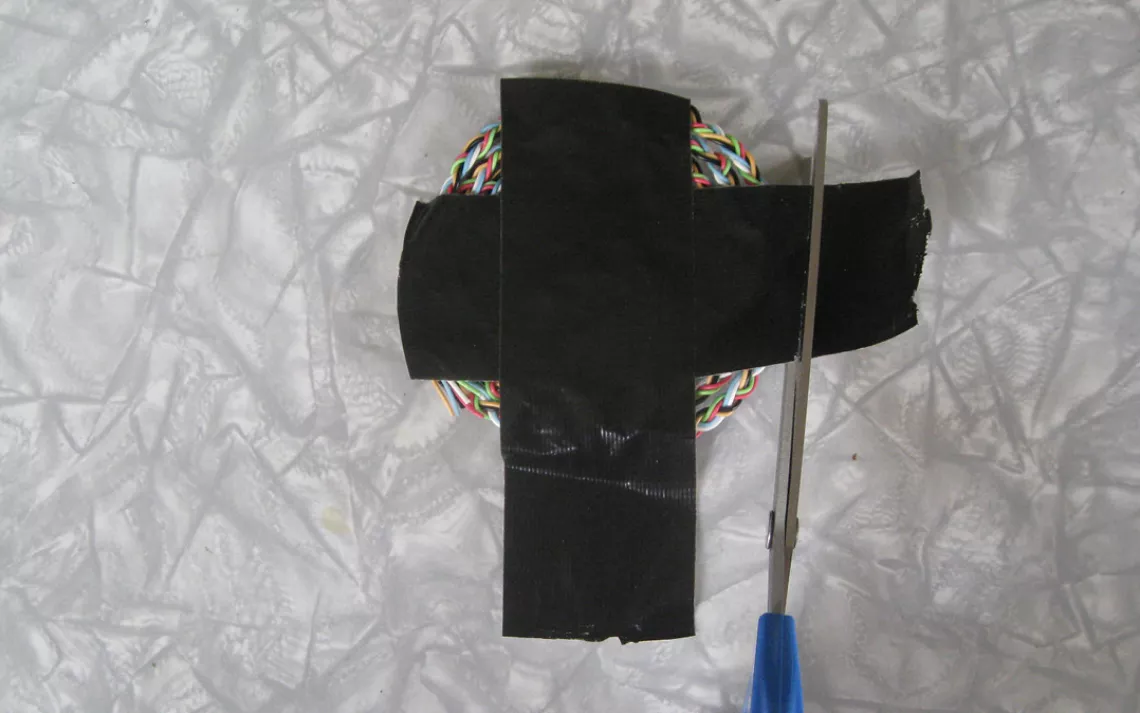
Step 12: Trim away the edges of the duct tape, but don't take it off.
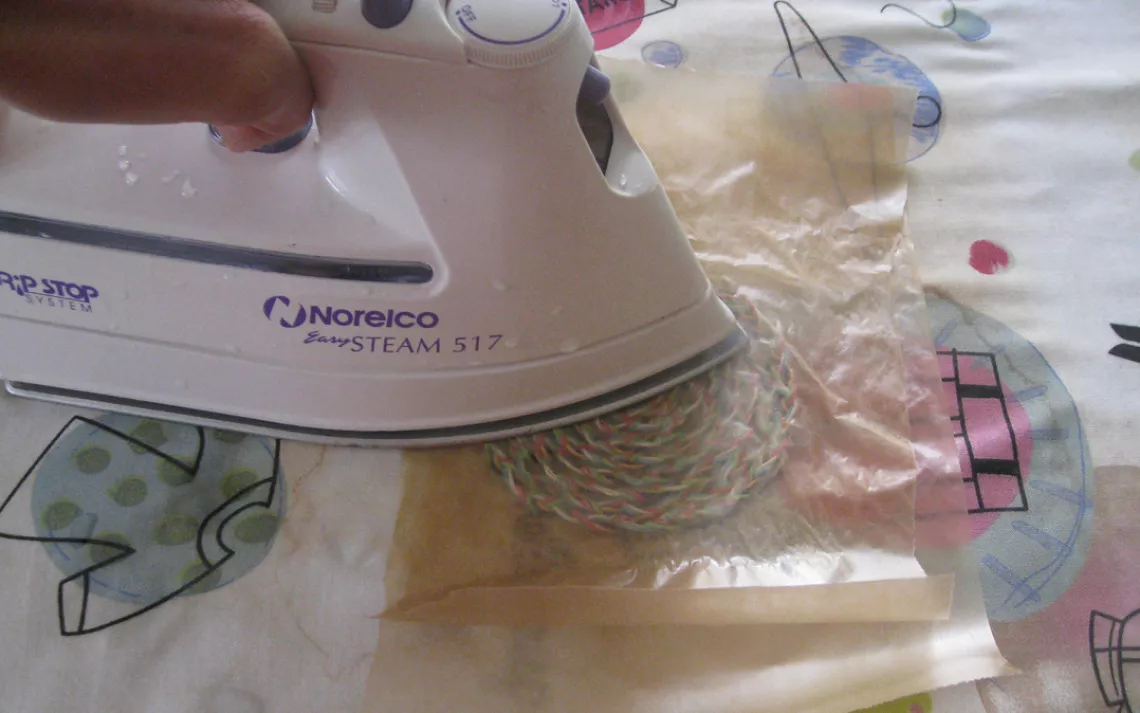
Step 13: Put the coaster between two sheets of wax paper and iron it a bit. This helps flatten it and slightly melts the plastic to make the whole thing stick together. Do this in a well-ventilated room, or, if melting plastic just isn't your thing, skip this step and apply the epoxy. I, for one, am a fan of this technique. The coaster pictured here didn't even need the epoxy after I ironed it. Other coasters I made did, but I still liked how the ironing made the wires more pliable and helped the coaster hold its shape.
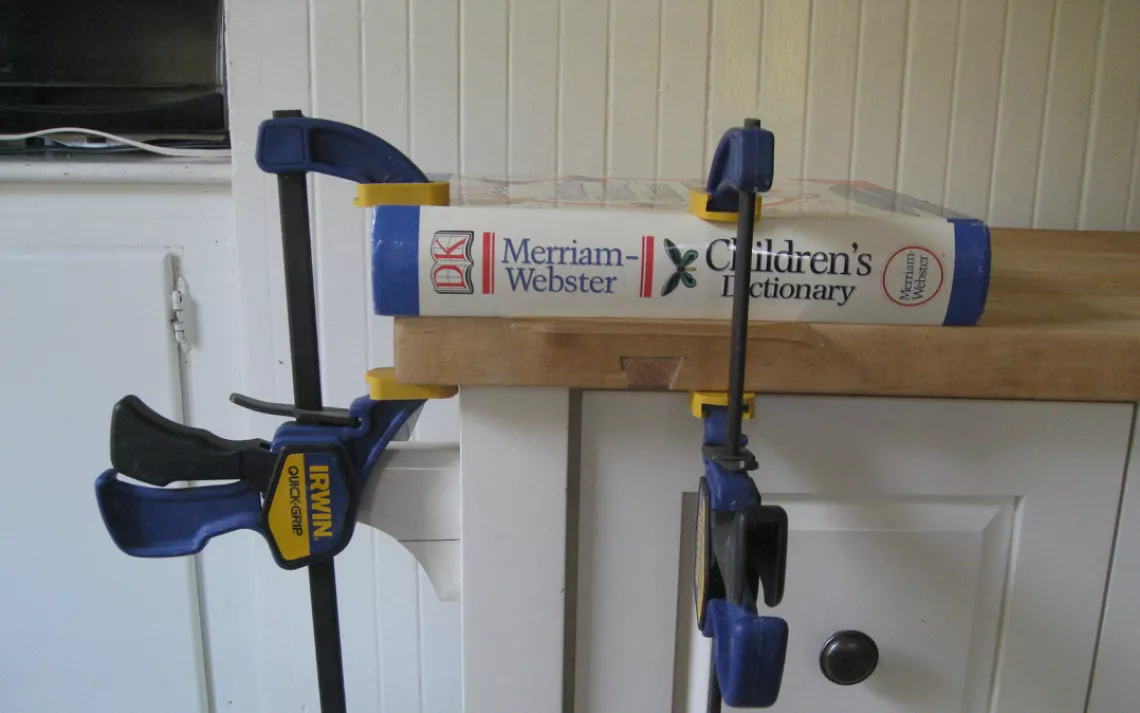
Step 14: If you are applying epoxy, do so sparingly, or it will seep through and be visible on the top side of your coaster. Put the coaster between sheets of wax paper and place it under something heavy, like a book, that, ideally, you can clamp down. Allow the epoxy to dry.
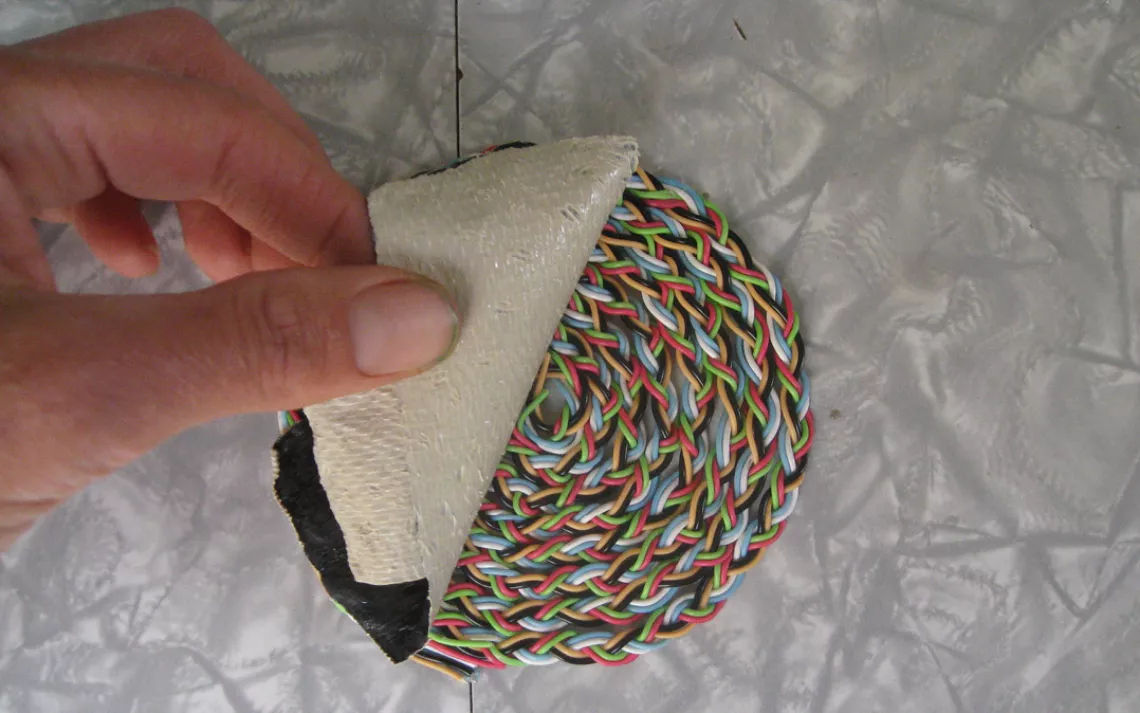
Step 15: Carefully remove the duct tape.
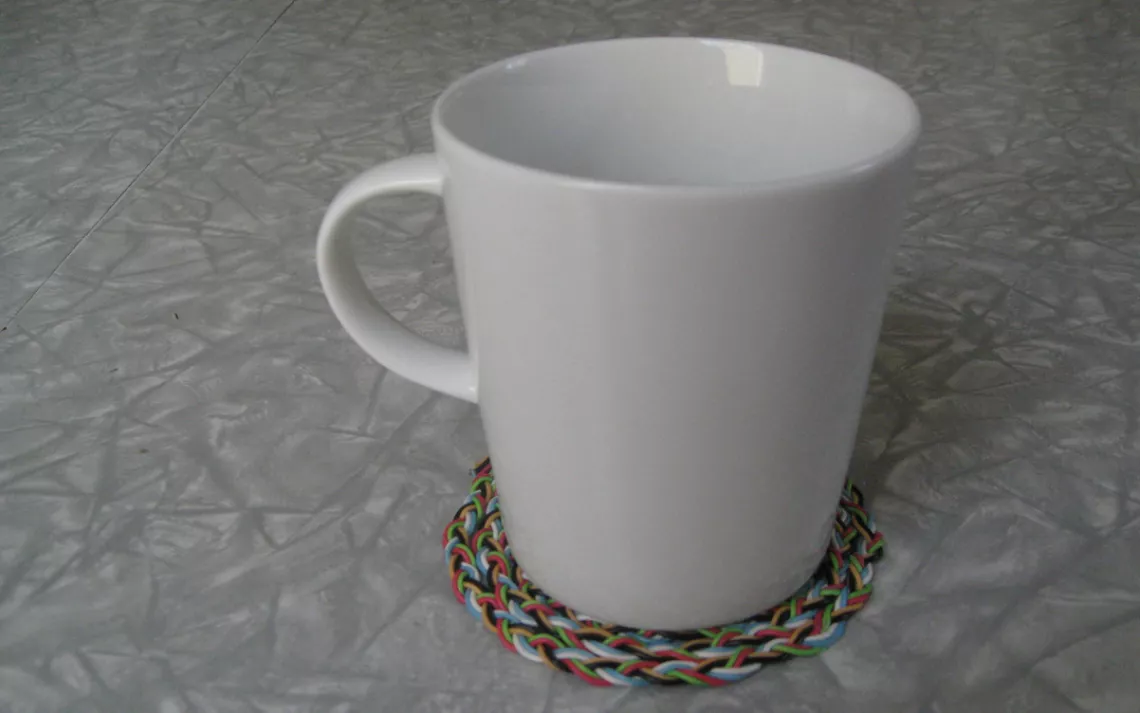
Step 16: Have a cup of tea.
DIFFICULTY LEVEL: 5 | CONSTRUCTION TIME: 5 hours
It takes some handiwork to get the cords braided and wrapped tightly.