Phone Book Pencil Holder
Upcycling an old directory is a good call
 I kept a phone book for years, without ever using it, in case a natural disaster struck—a selective one in which the Internet was down but landlines worked and the local pizza place was still delivering. Eventually, I started dumping the directories that showed up on my doorstep straight into the recycling bin.
Turns out I can stop deliveries just by completing an opt-out form at yellowpagesoptout.com. The Local Search Association, which represents phone book publishers, created the website to reduce paper waste. Thanks partly to this, paper use for new phone books fell by 60 percent between 2007 (when the books' production churned through an estimated 4 million trees' worth of wood fiber a year) and 2013.
But the association doesn't want to save too much paper. When Seattle tried to reduce its municipal recycling load by instituting an opt-in program for phone book delivery, the trade group took the city to court, successfully arguing that its free speech rights had been violated. Still, I'm pretty sure the phone book's days are numbered.
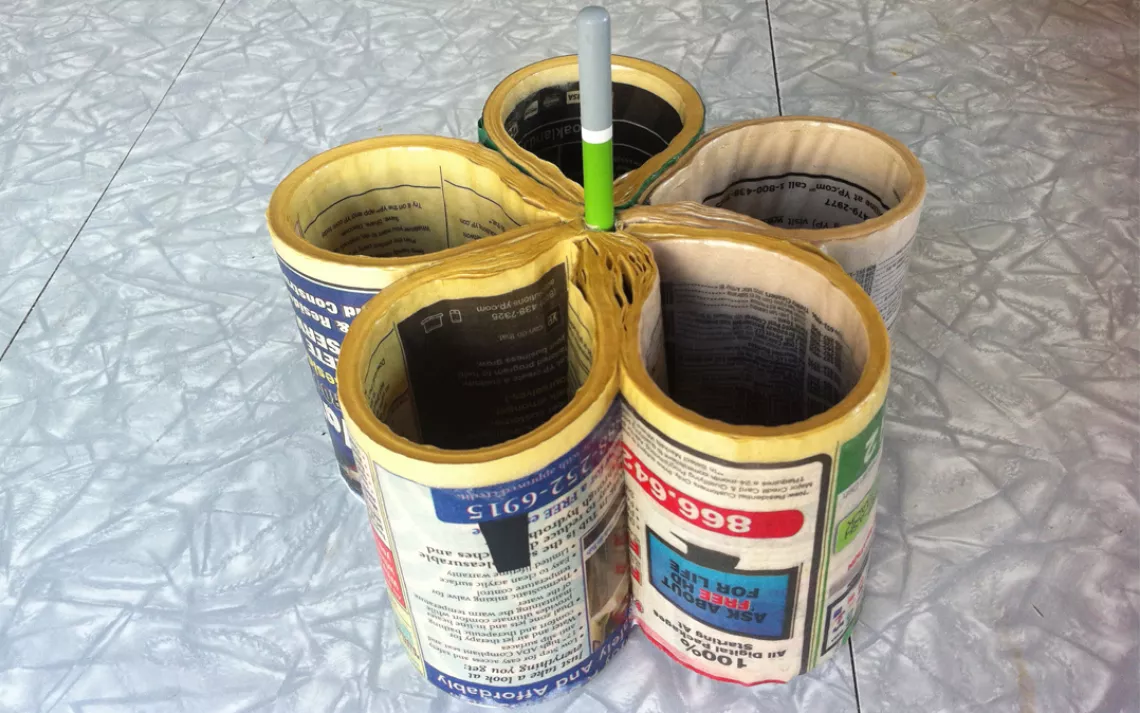
Meanwhile, I spared my city's recycling system half of one of these massive tomes by turning a recent delivery into a pencil holder. With a utility knife, I cut the book horizontally into two halves and divided the pages of one of them into five segments. Then I folded the edges of the segments back toward the binding to look like petals on a flower and glued them all in place with Mod Podge. Now that my phone book holds my pens and pencils, I use it daily.
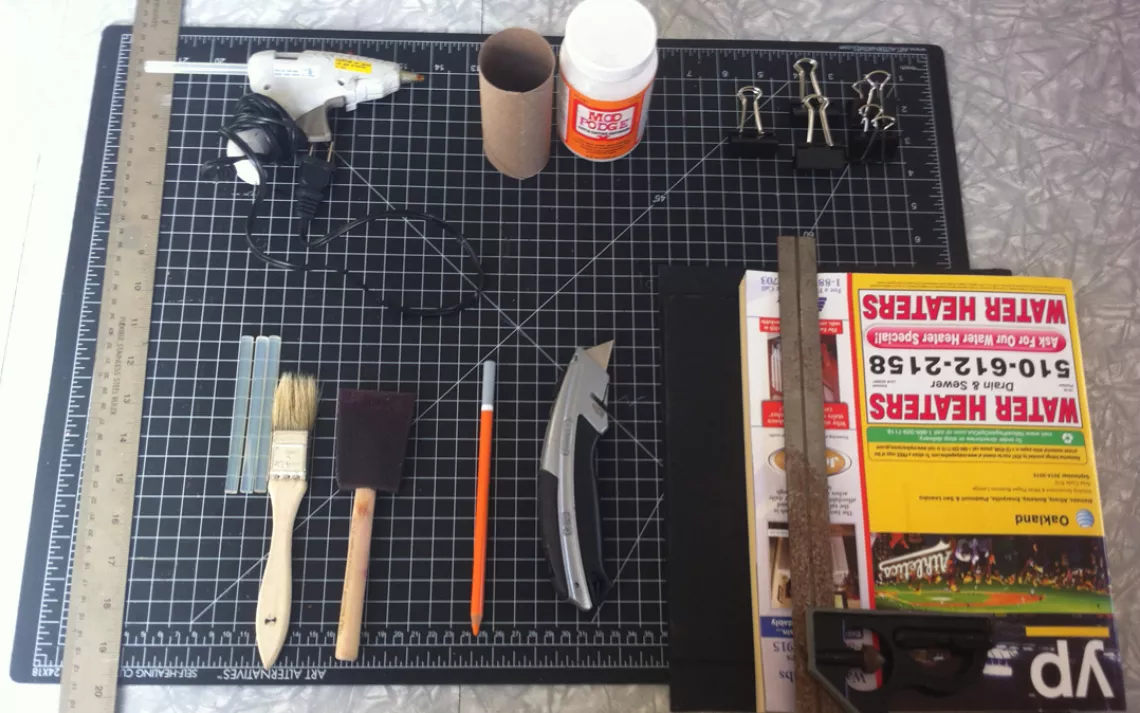
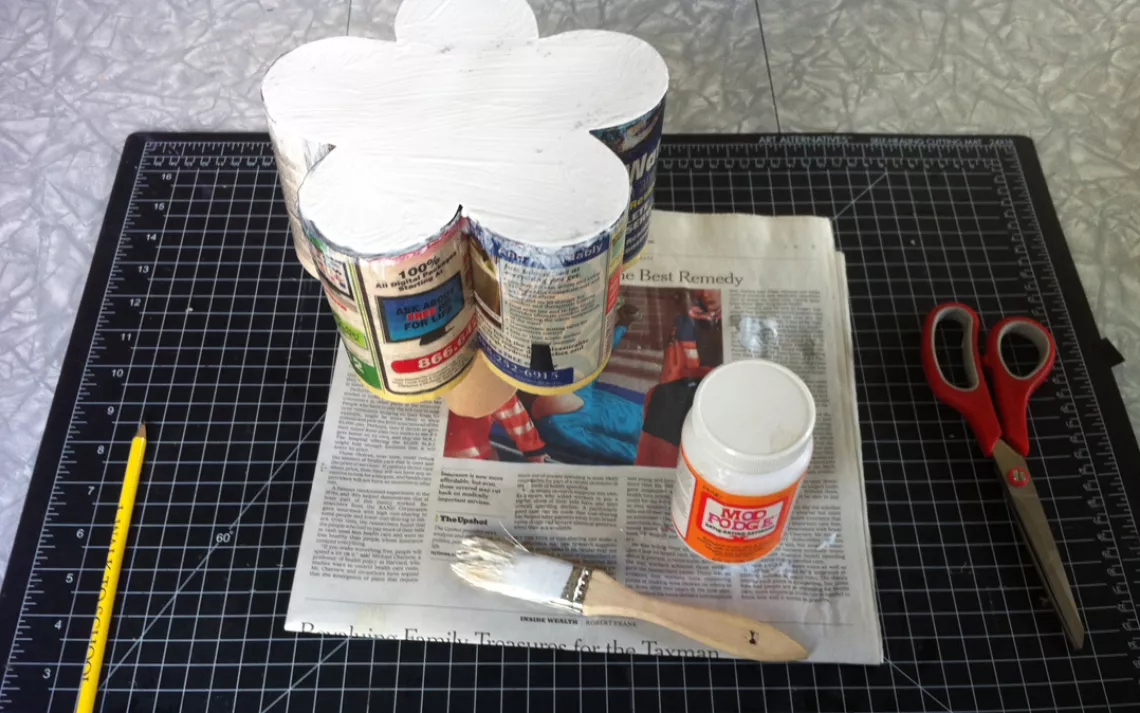
What You'll Need
- Phone book
- Pencil
- T square and/or ruler
- 5 binder clips
- Glue gun and glue sticks
- Mod Podge
- 1-inch-wide, soft-bristled paintbrush or foam brush
- Utility knife
- Scissors
- Card stock or thin cardboard (at least 8" x 8")
- Empty roll of toilet paper
- Cutting mat (optional)
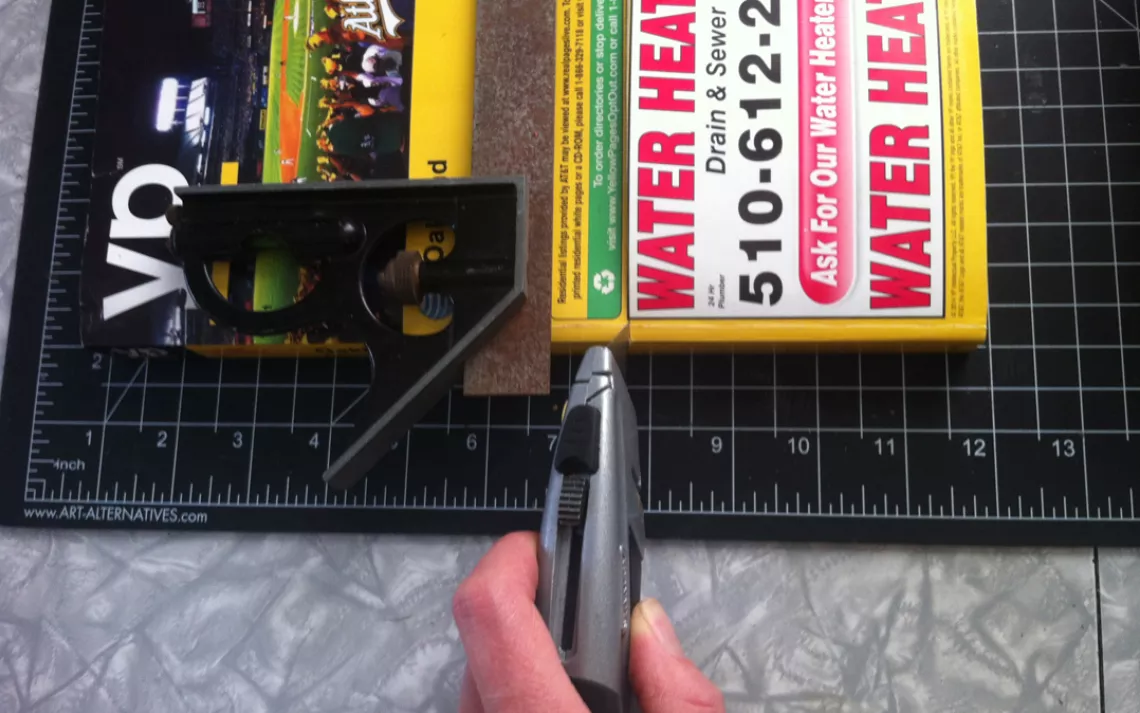
Step 1
Measure about four inches up from the bottom edge of the phone book. Use the T square to determine a straight line across the cover, and mark with a pencil. Gradually slice through the book with the utility knife. Next, cut through the binding. If the edges of the pages are uneven, you can trim them with scissors. (Make this side the bottom of the pencil holder.)
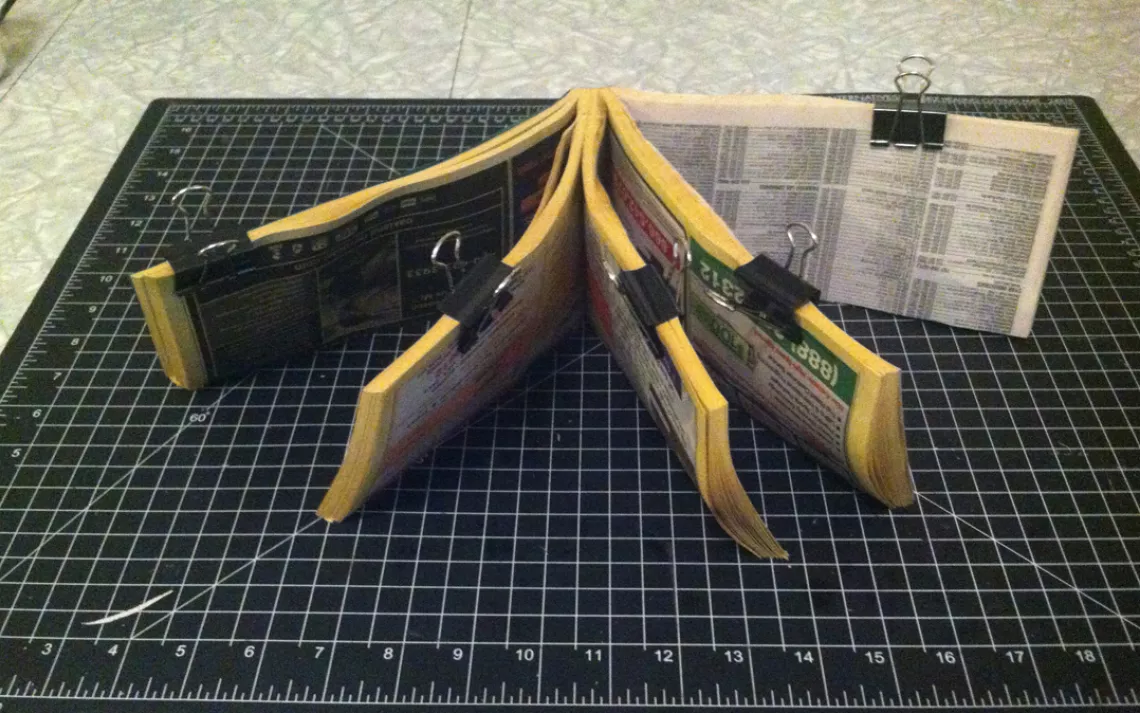
Step 2
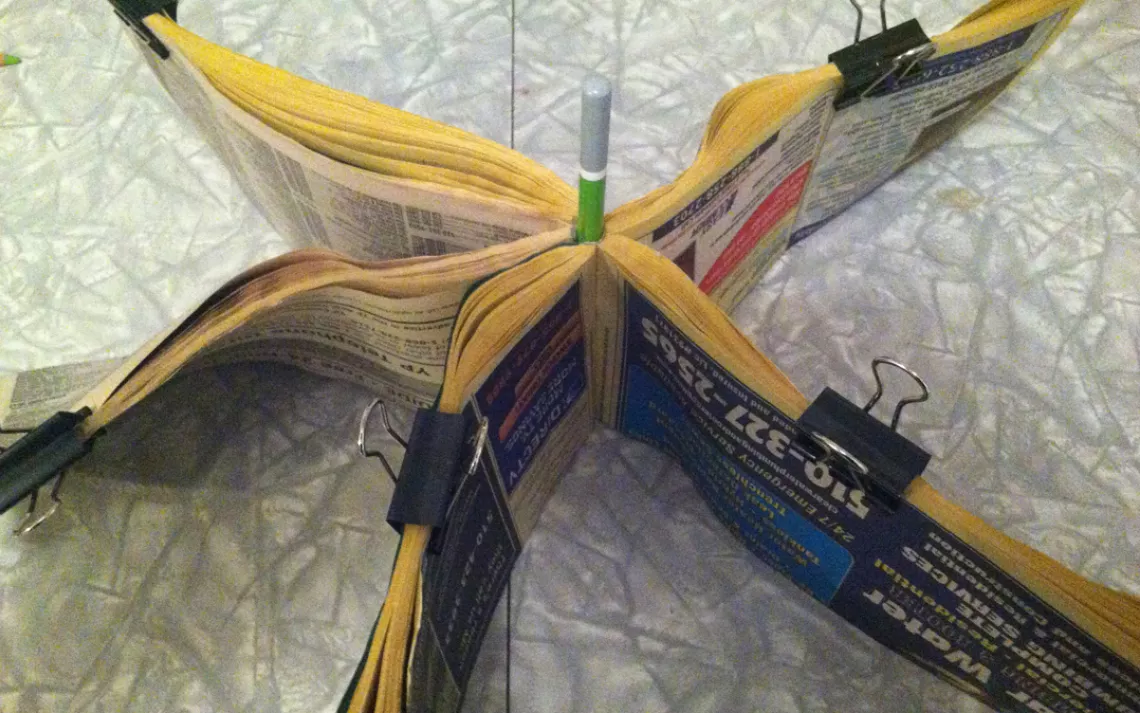
Divide the pages into five even sections, and secure each section with a binder clip.
Step 3
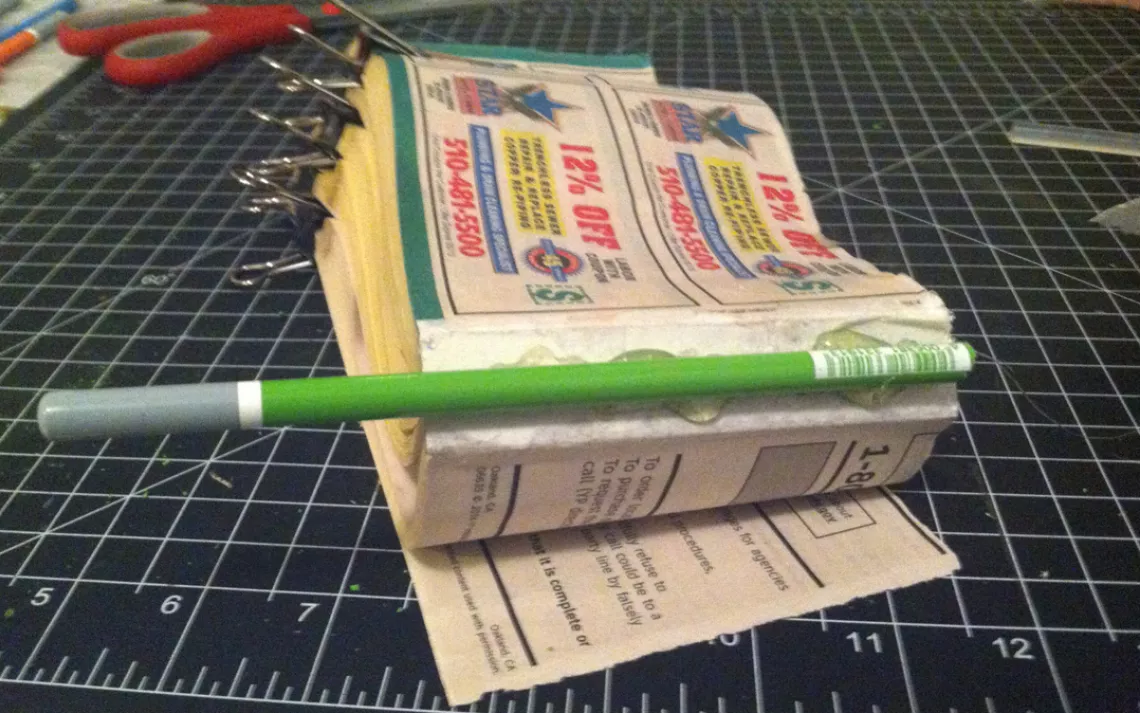
With scissors, snip about one inch off the bottom of a pencil. With the hot glue gun, glue the longer piece to the spine of the phone book (the bottom edge of the pencil should be flush with the bottom edge of the book). Hold the pencil in place until it dries.
Step 4
Apply more glue to the spine, and wrap the spine around the pencil. Hold in place until the glue dries.
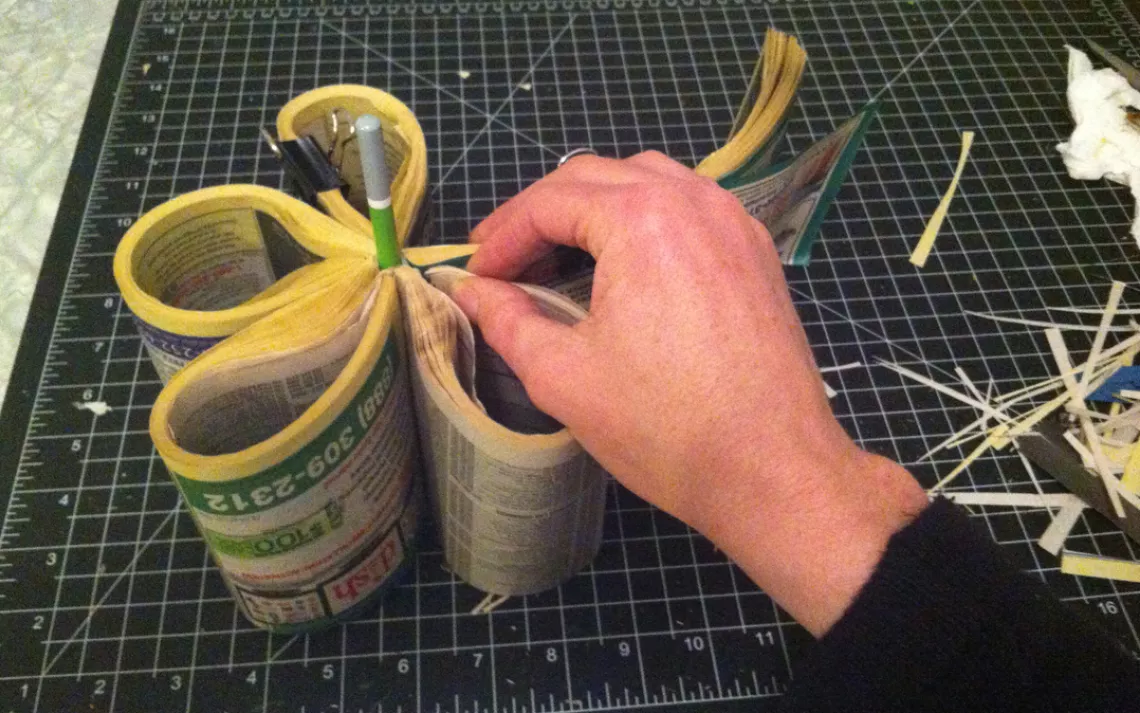
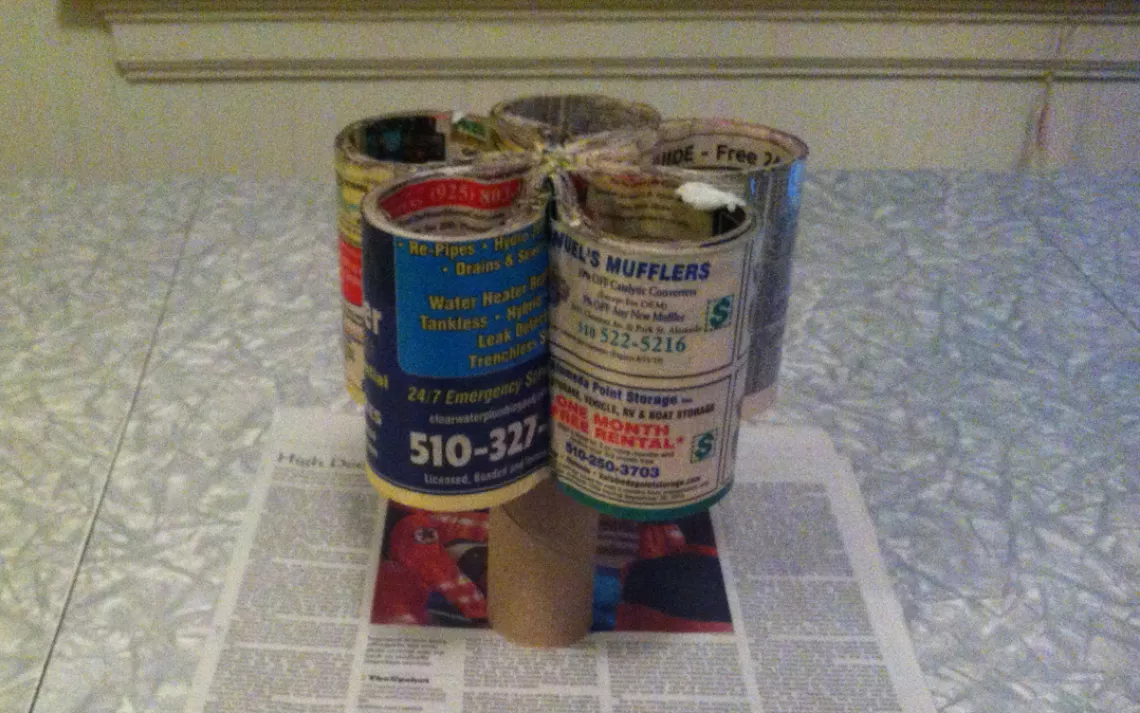
Step 5
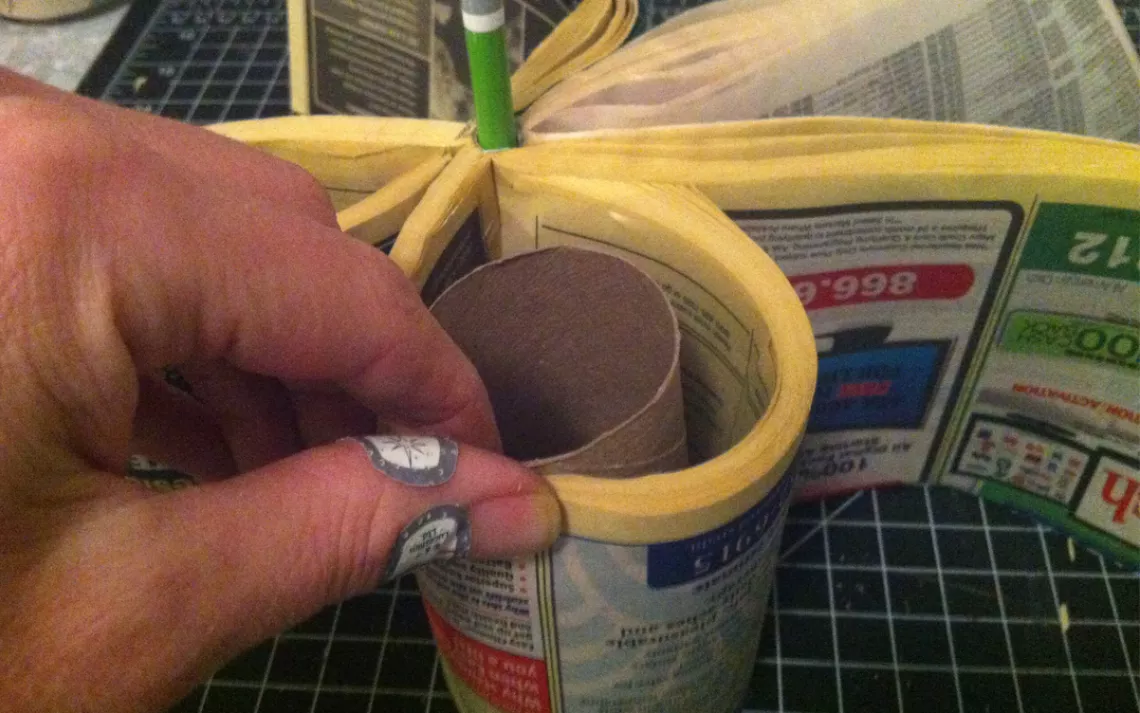
Take one of the sections of paper and curl it around a toilet-paper roll in order to give it the shape of a petal. Examine how the edges of the petal fit into the crease of the spine and adjust the binder clip to hold the pages in place.
Step 6
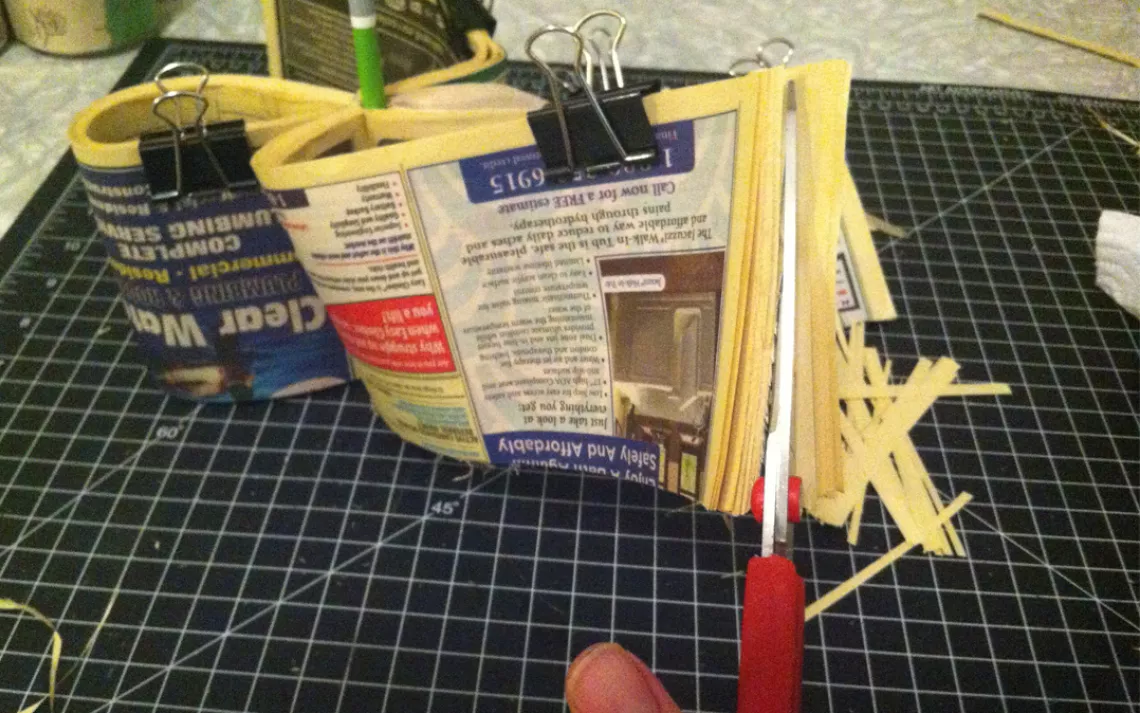
The edge of the pages will form a slant, so trim them to make them flush with each other.
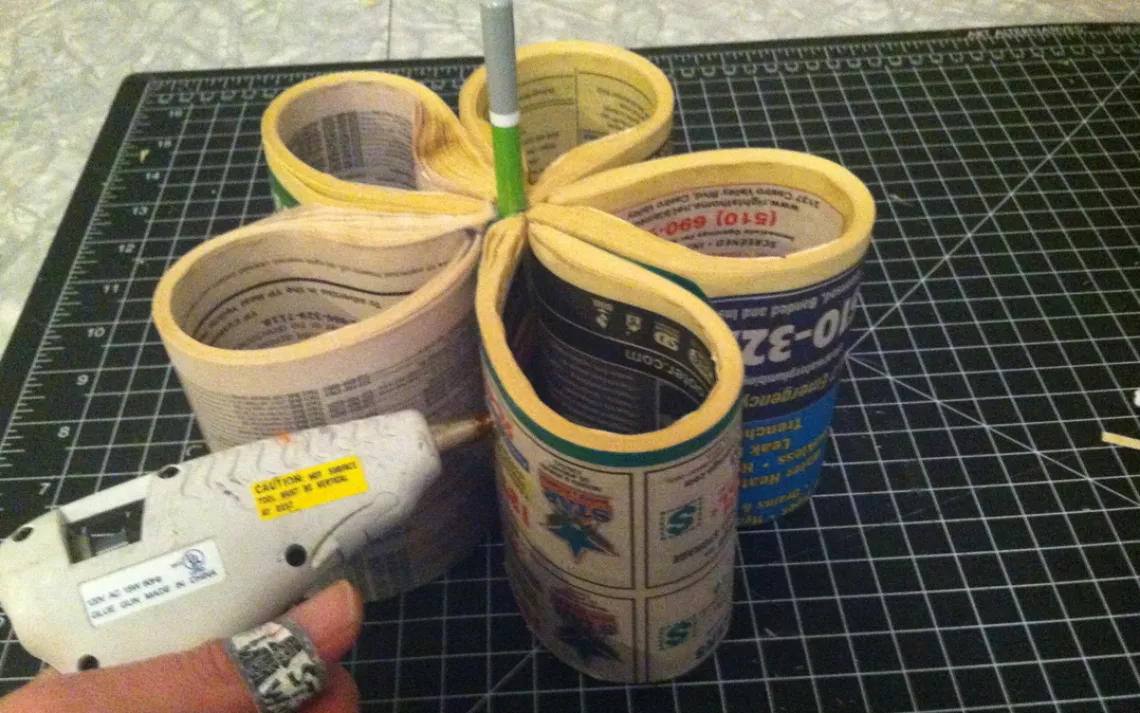
Step 7
Apply glue to the crease of the phone book and tuck the edge of the "petal" into it. Hold in place until the glue dries. Repeat steps 6 and 7 with the remaining four sections of phone book.
Step 8
Apply glue to the sides of each petal near the creases, and press the petals together to help round them out.
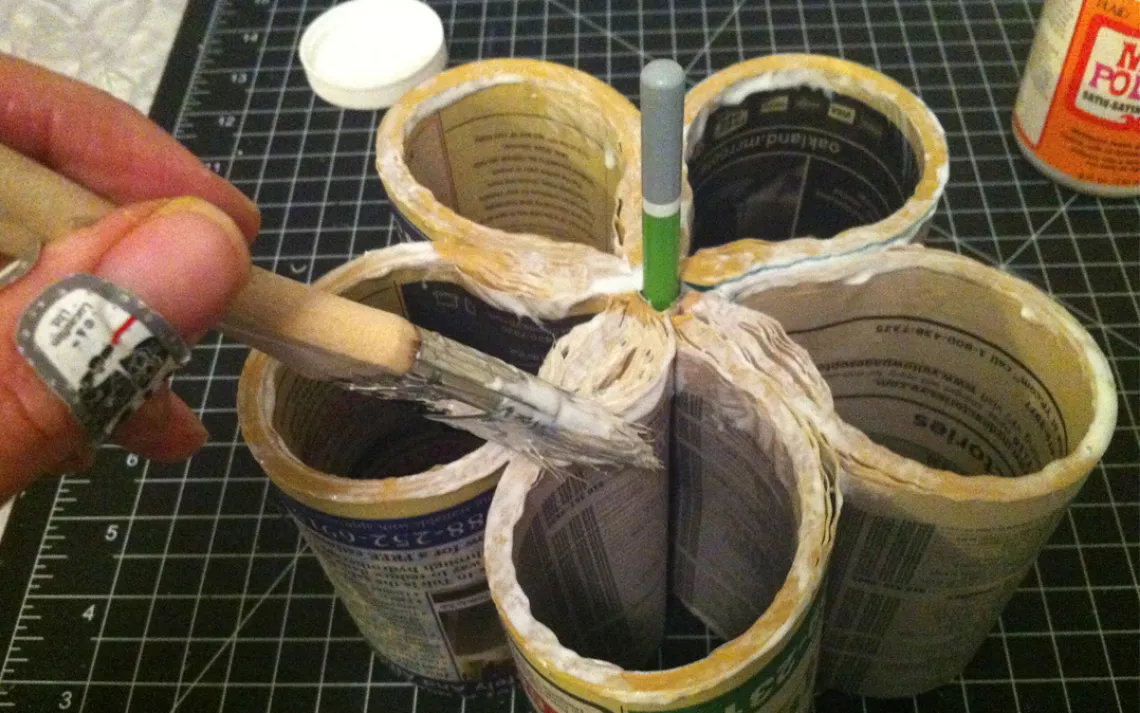
Step 9
Slather Mod Podge on the top edge of the pencil holder and allow some time to dry.
Step 10
Apply a layer of Mod Podge over the entire pencil holder (inside and out, but not the bottom). Let it dry, and then apply another layer.
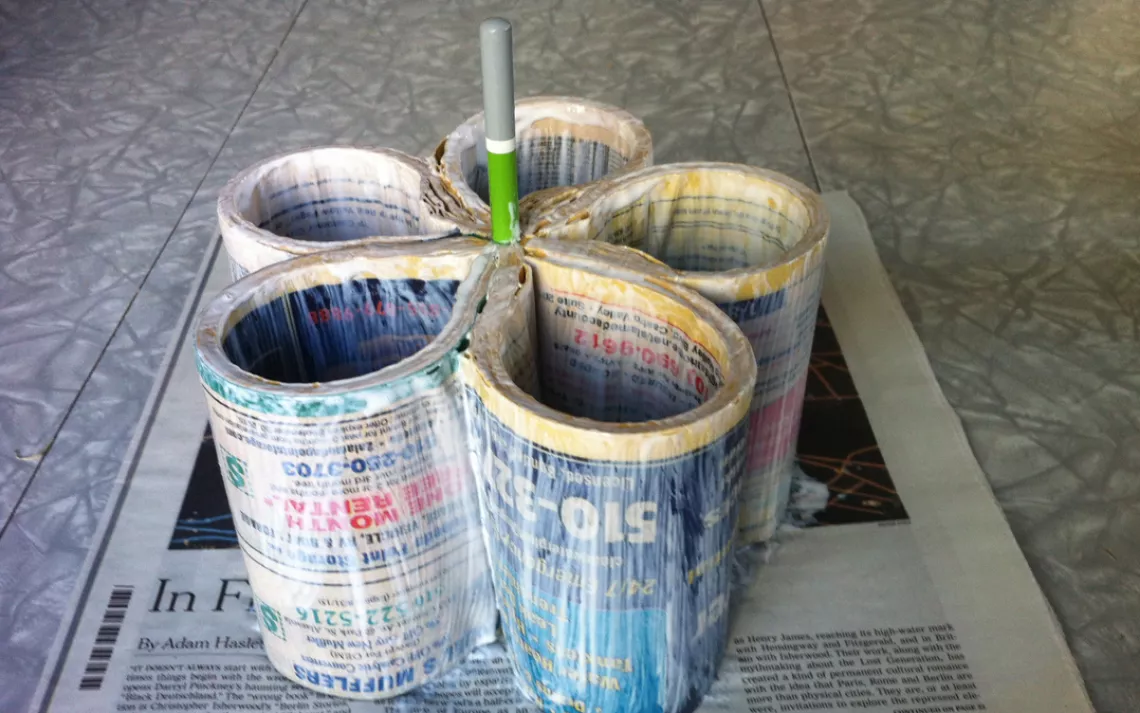
Step 11
Turn the pencil holder upside down, and place it on the toilet-paper roll (if that doesn't feel stable, cut the roll in half). Apply Mod Podge to the bottom edge of the pencil holder. Let it dry, then apply a second layer to the bottom.
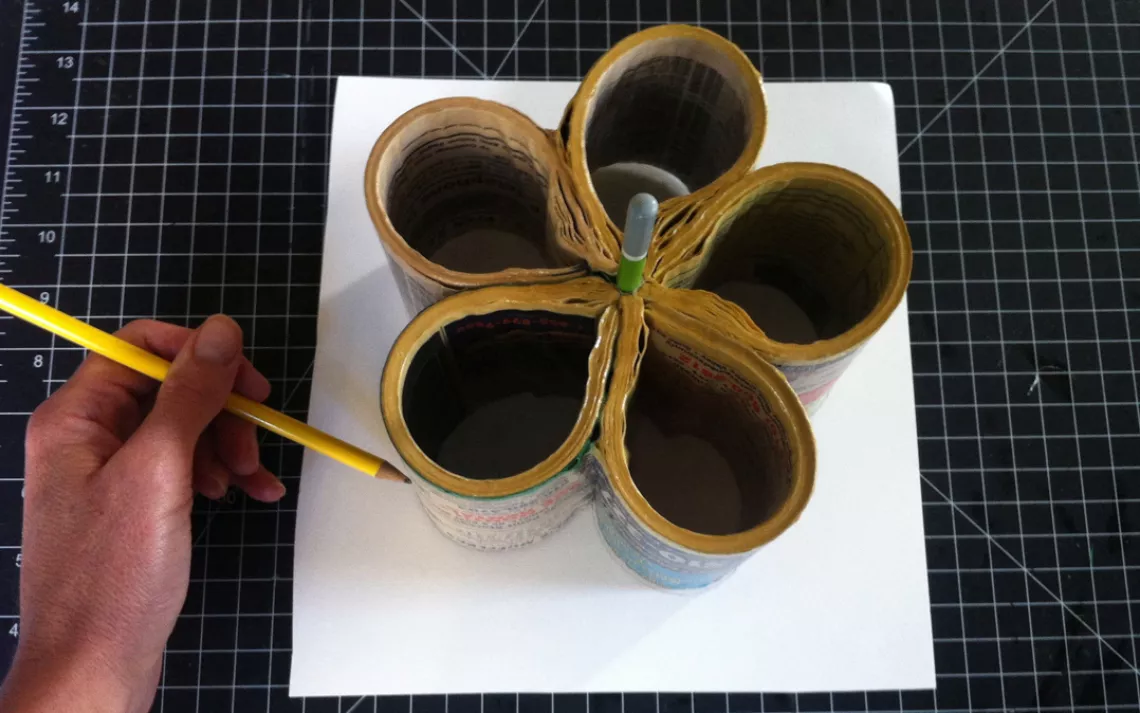
Step 12
Draw an outline of the pencil holder on card stock and cut it out.
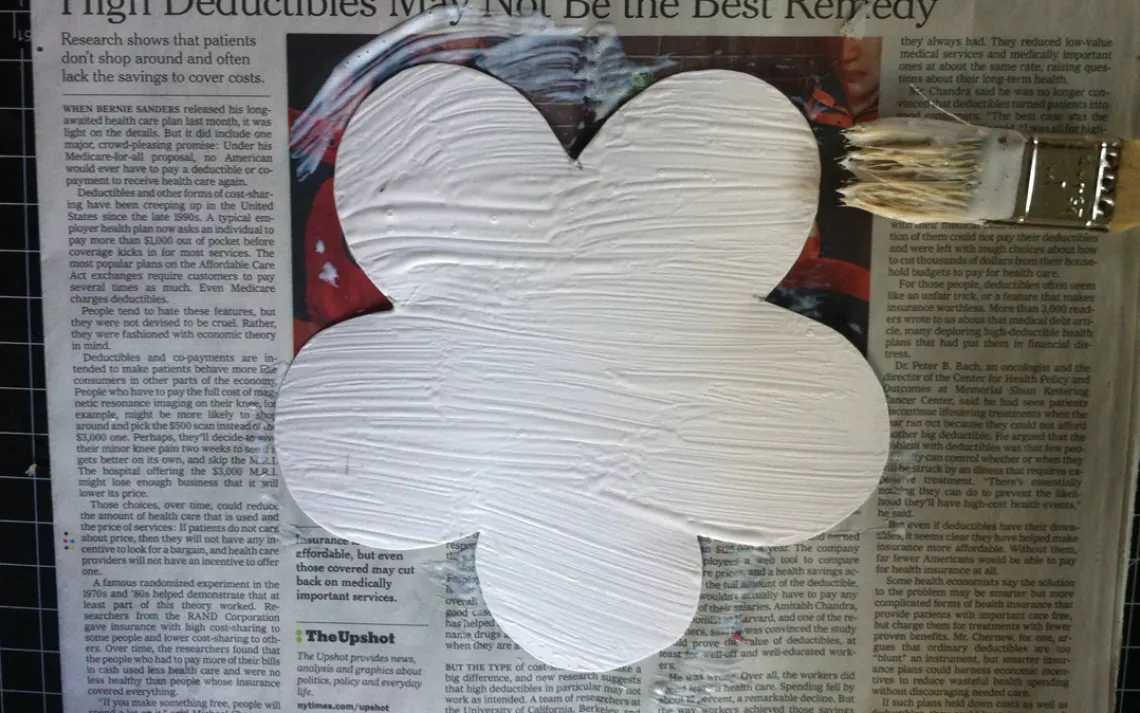
Step 13
Slather Mod Podge onto the card stock base, and let it dry.
Step 14
Carefully align the base with the body of the pencil holder, and apply one last layer of Mod Podge to the bottom and up the sides a bit. This will essentially glue the base in place. Allow time to dry.
Step 15
Fill your pencil holder with useful items for your desk.
Photos by Lori Eanes
Difficulty Level 4
Construction time: 3 hours of actual labor; 1 to 2 days including time for layers of Mod Podge to dry. Note that cutting through all the pages evenly takes some skill and patience.
Based on a project by arts-and-crafts duo Chica and Jo at chicaandjo.com.