Bike Tire Belt

Upcycle your spare tire

By Wendy Becktold

July 1, 2013

Repurpose: Bike Tire Belt

Click through the slideshow to find out how to turn a bike tire into a stylish belt.

Repurpose: Bike Tire Belt

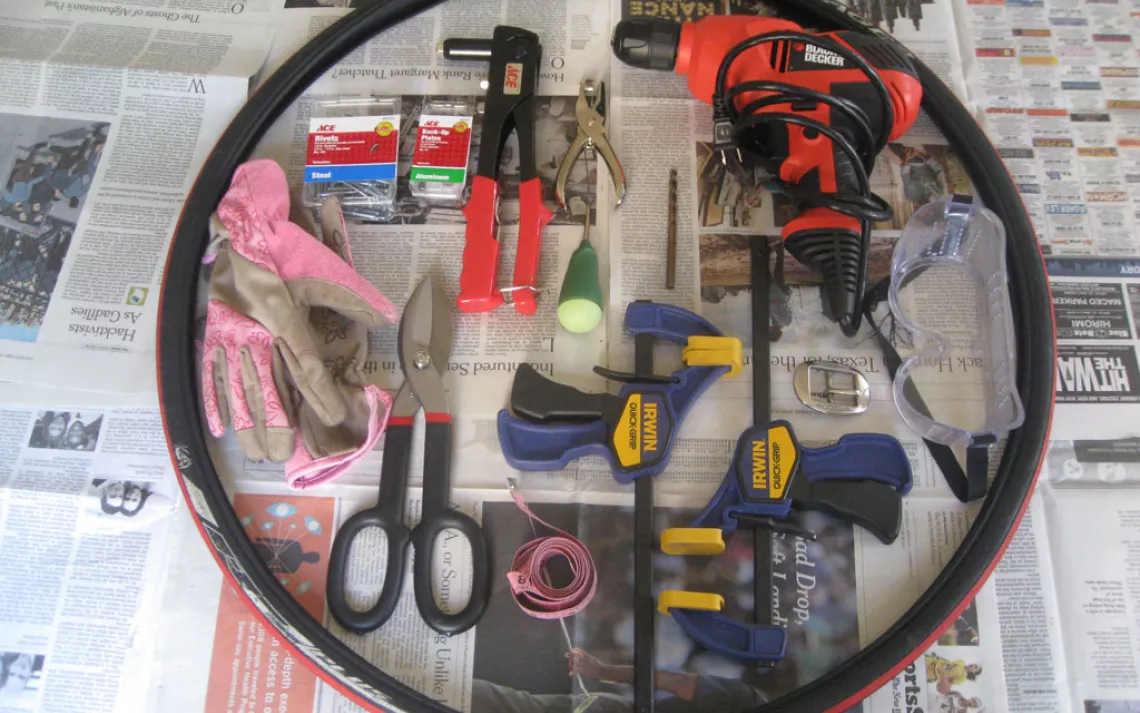
What You'll Need:

  • Bike tire
  • Scissors
  • Measuring tape
  • Electric drill
  • Belt buckle
  • Hand riveter
  • 1 to 2 rivets (at least 3/16 to 1/4 inch in grip range)
  • Multipurpose snips
  • Goggles
  • Gloves

Optional:

  • Awl
  • Clamps
  • Paper clip
  • Hole punch
  • Box cutter
Repurpose: Bike Tire Belt

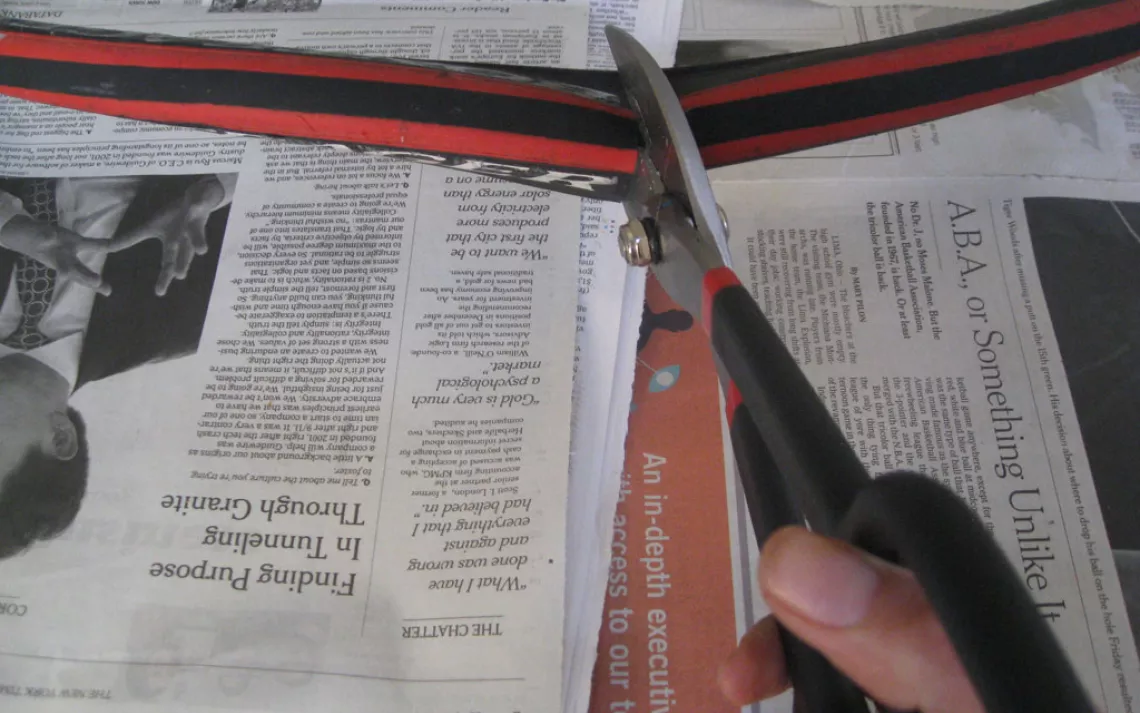
Step 1: Wash the tire with soap and warm water and let dry. Then, cut it into one long strip.

Repurpose: Bike Tire Belt

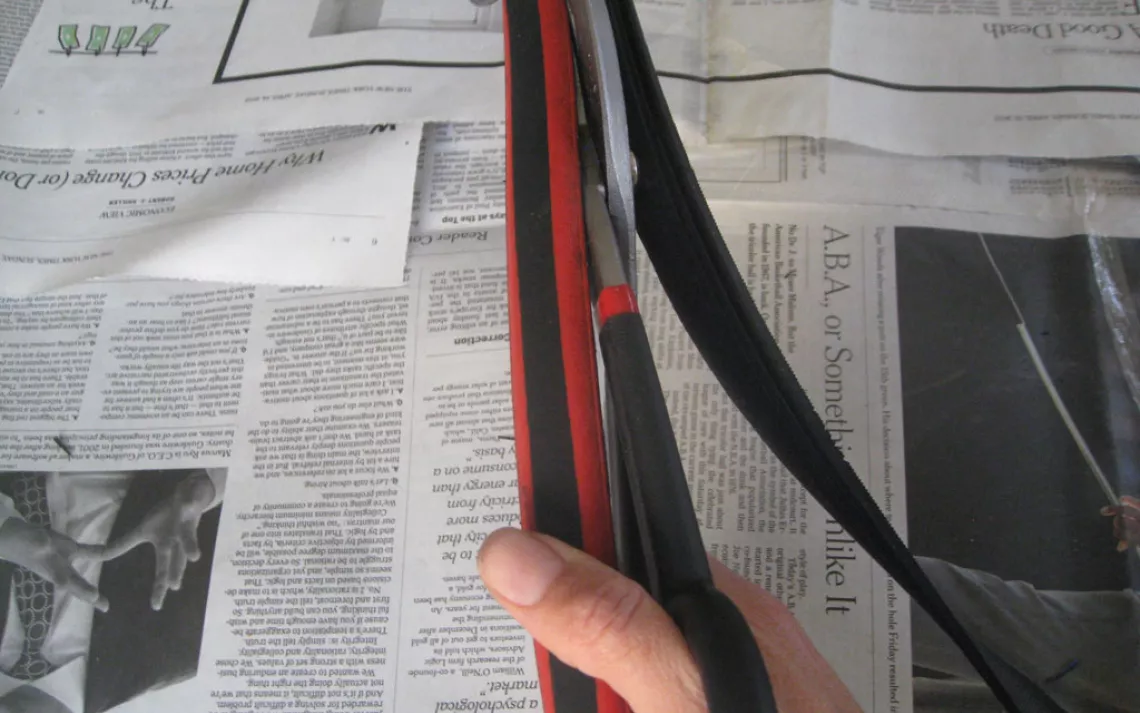
Step 2: Trim off both sides of the tire. narrowing it down to the tread.

Repurpose: Bike Tire Belt

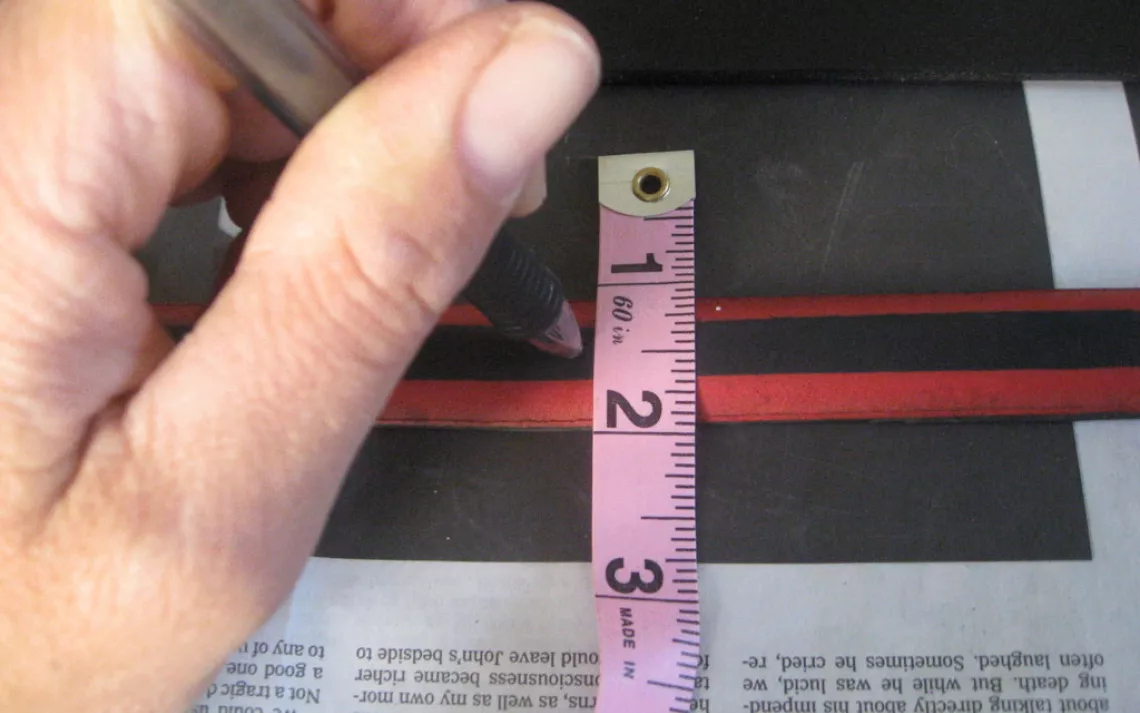
Step 3: Measure at least 5 inches in from one end of the tire. Use a measuring tape to find the center of the tire, and mark the spot with a pen.

Repurpose: Bike Tire Belt

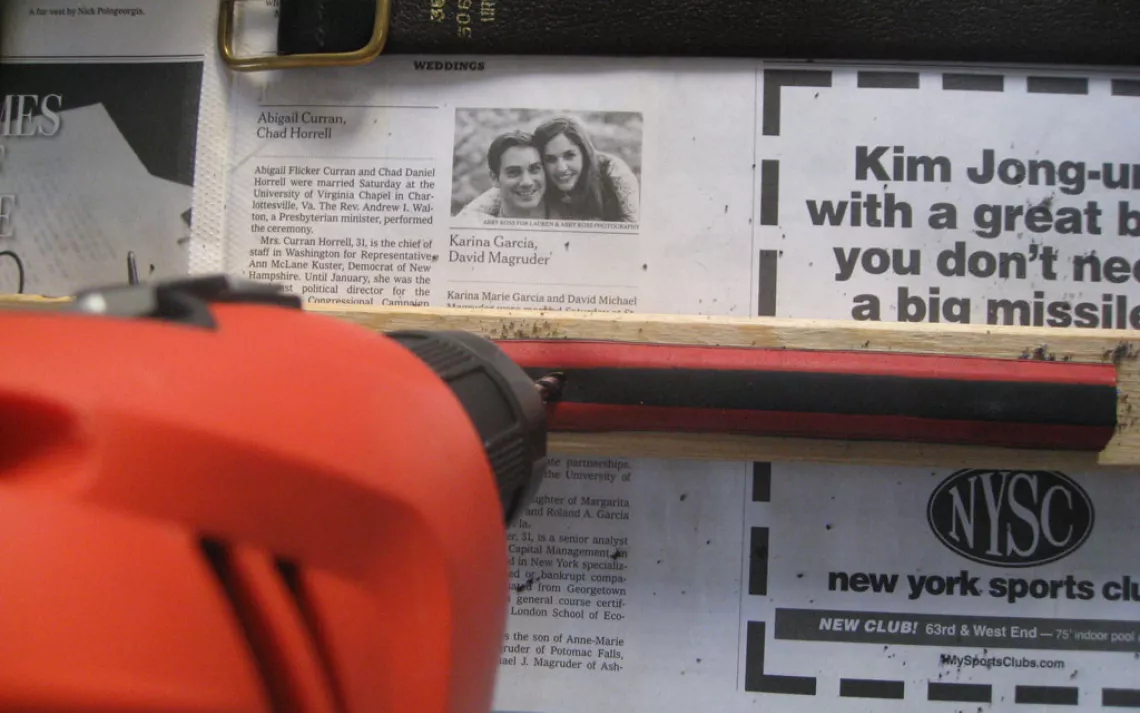
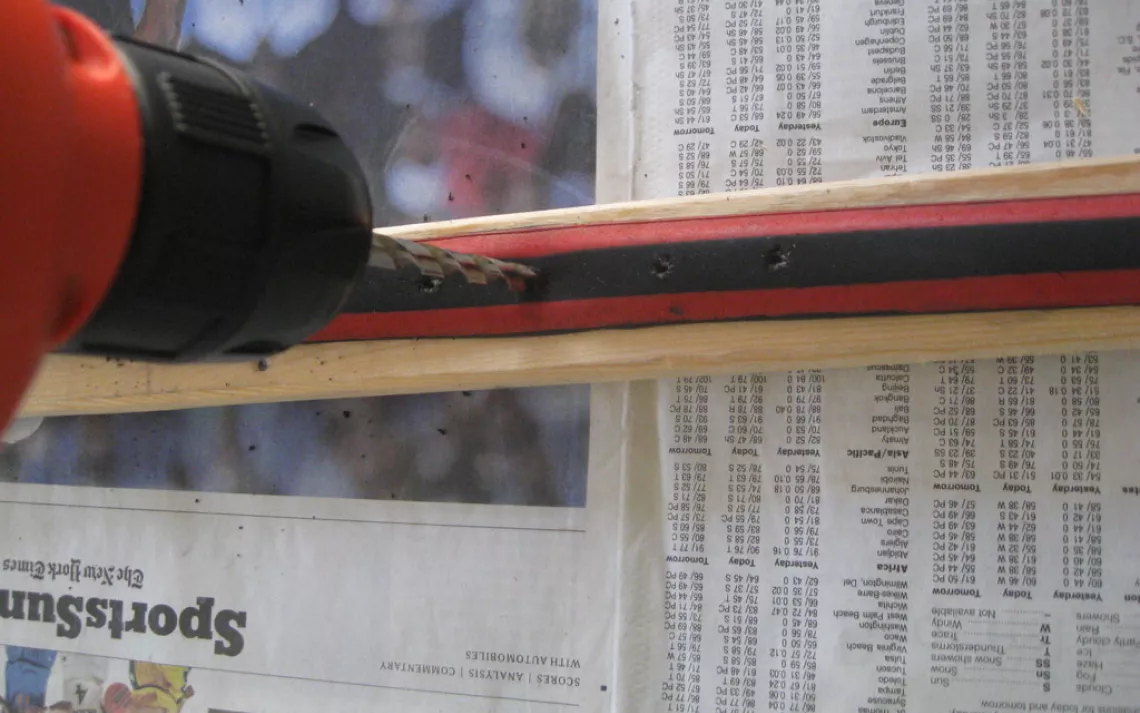
Step 4: Drill a small hole through the tire at the point you have marked (don't forget to wear gloves and safety goggles). Note: It's a bit tricky to drill cleanly through rubber. I found it helpful to puncture the tire first with an awl. A sharp, new drill bit also helps.

Repurpose: Bike Tire Belt

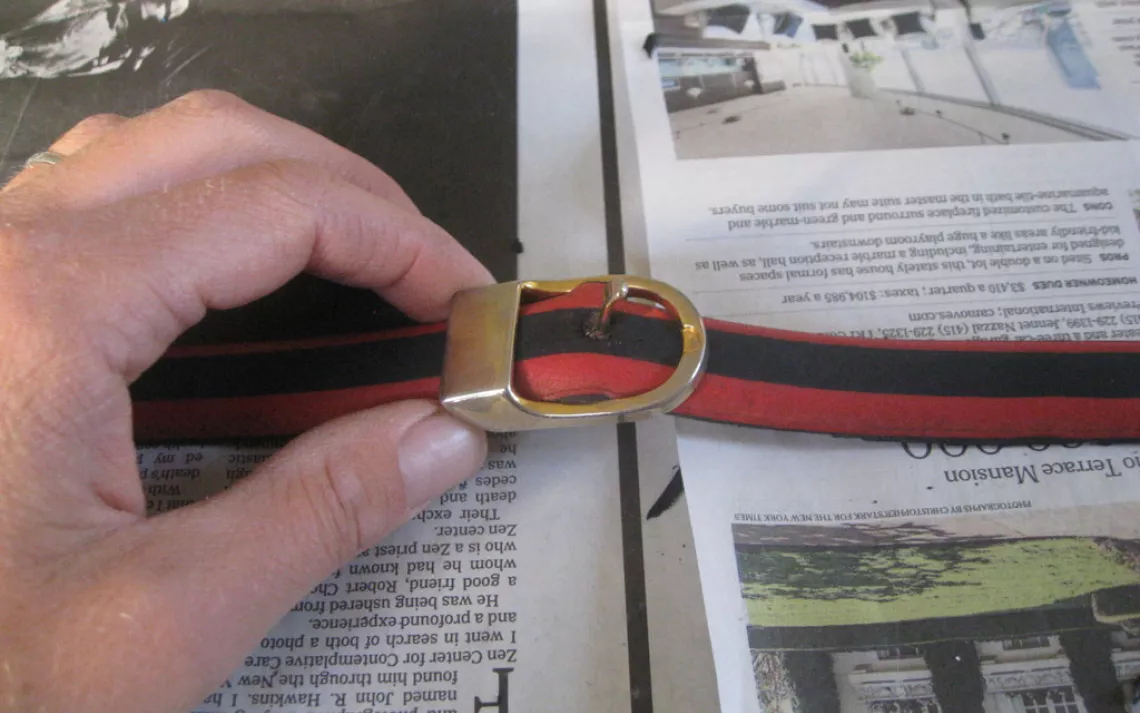
Step 5: Slip the buckle onto the belt and insert the prong through the hole you have just drilled.

Repurpose: Bike Tire Belt

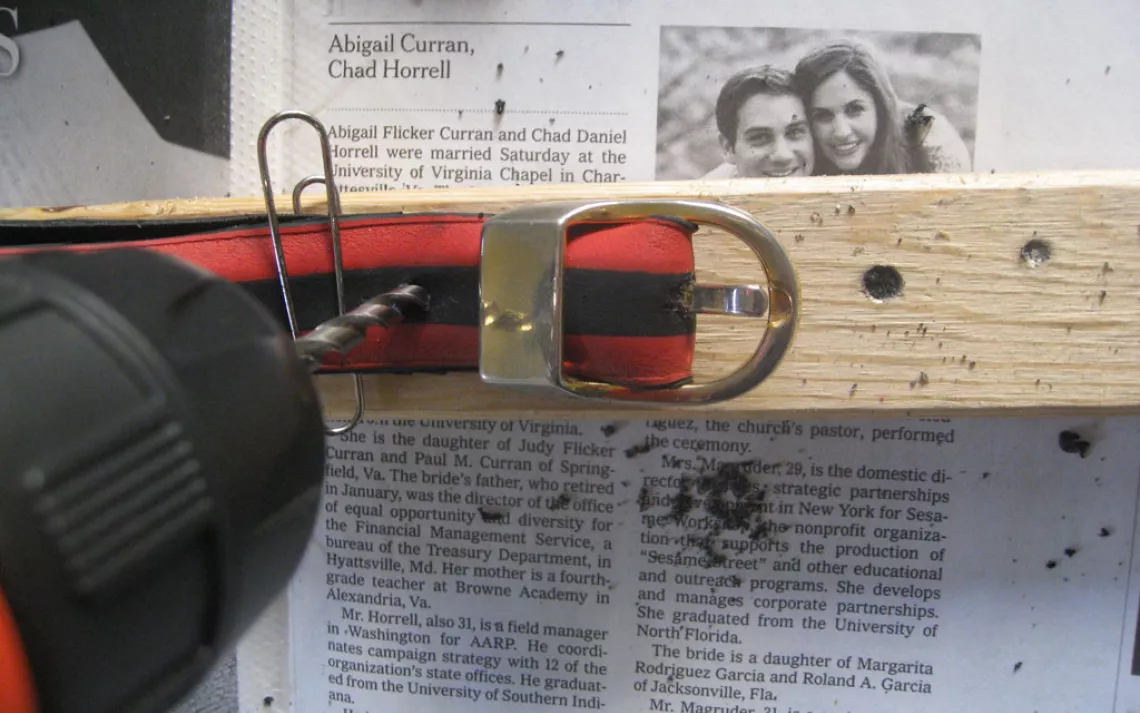
Step 6: Fold the 5 inches of strap under the buckle and press it tightly against the belt. Measure and mark a spot in the center of the belt near the buckle, then drill through both pieces of tire (If your tire is big and bulky, you may need to use clamps to keep the pieces together. The bike tire pictured here was thin and narrow enough that I just used a paper clip). Drill a hole through both pieces at the point you have marked.

Repurpose: Bike Tire Belt

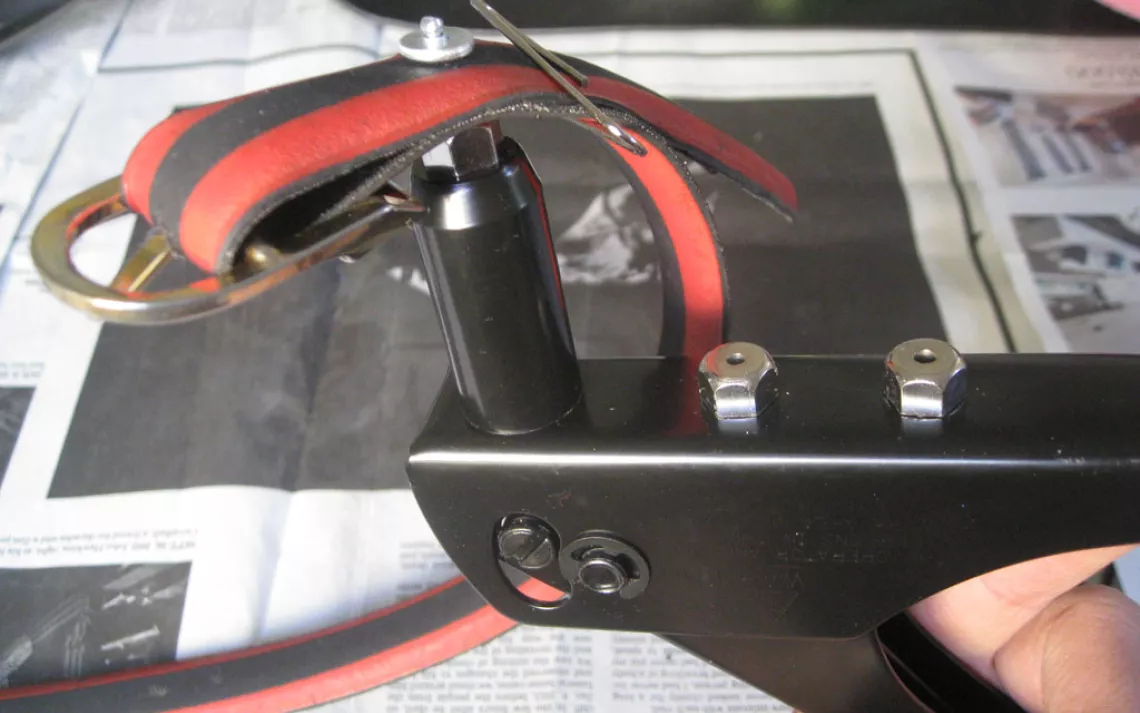
Step 7: Put a rivet into the rivet gun, insert it through the hole you have just made, and squeeze. If you don't know how to use a rivet gun, don't worry. You can take your pick of how-to Youtube videos. 

Repurpose: Bike Tire Belt

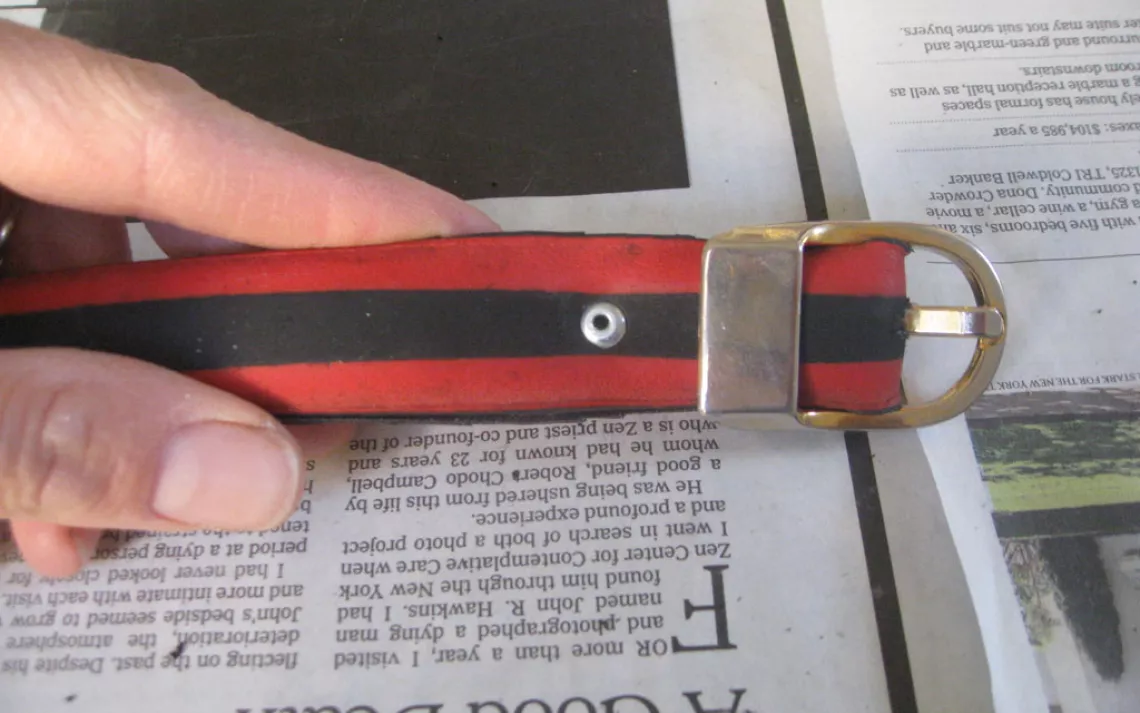
Step 8: If your belt is wider than the one pictured, you may need to attach two rivets (one on each side of the belt instead of one in the middle). If you are attaching only one rivet, the front of the belt will look like this when you are finished.

Repurpose: Bike Tire Belt

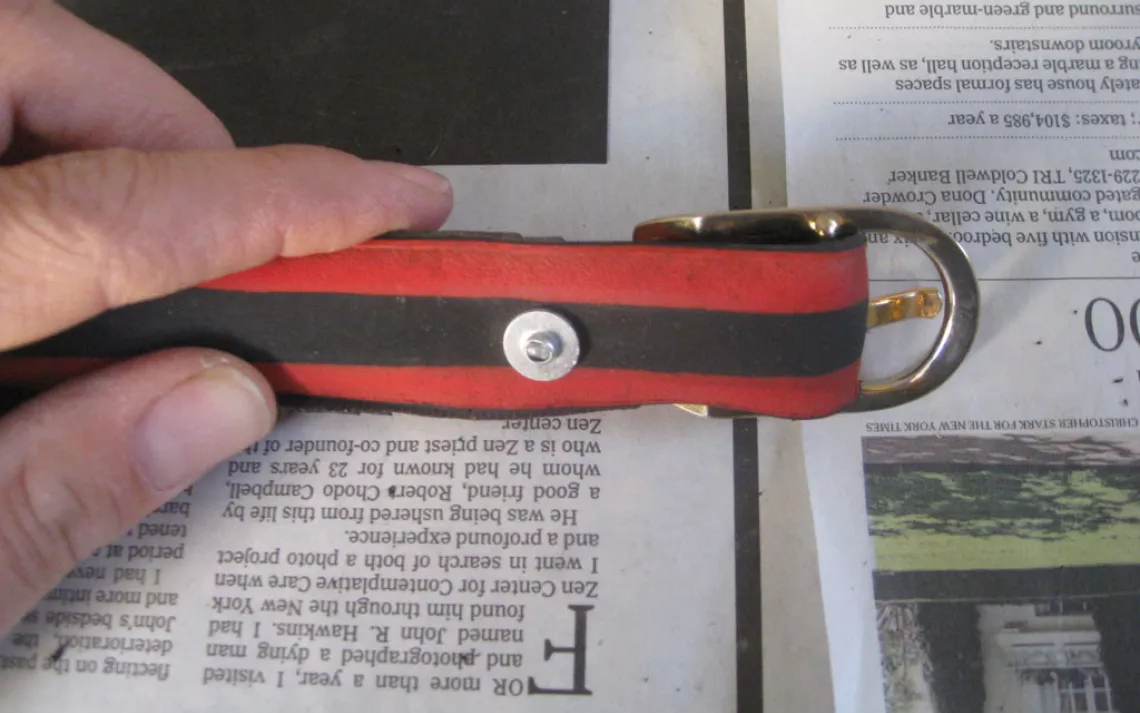
Step 8 (continued) : The back will look like this.

Repurpose: Bike Tire Belt

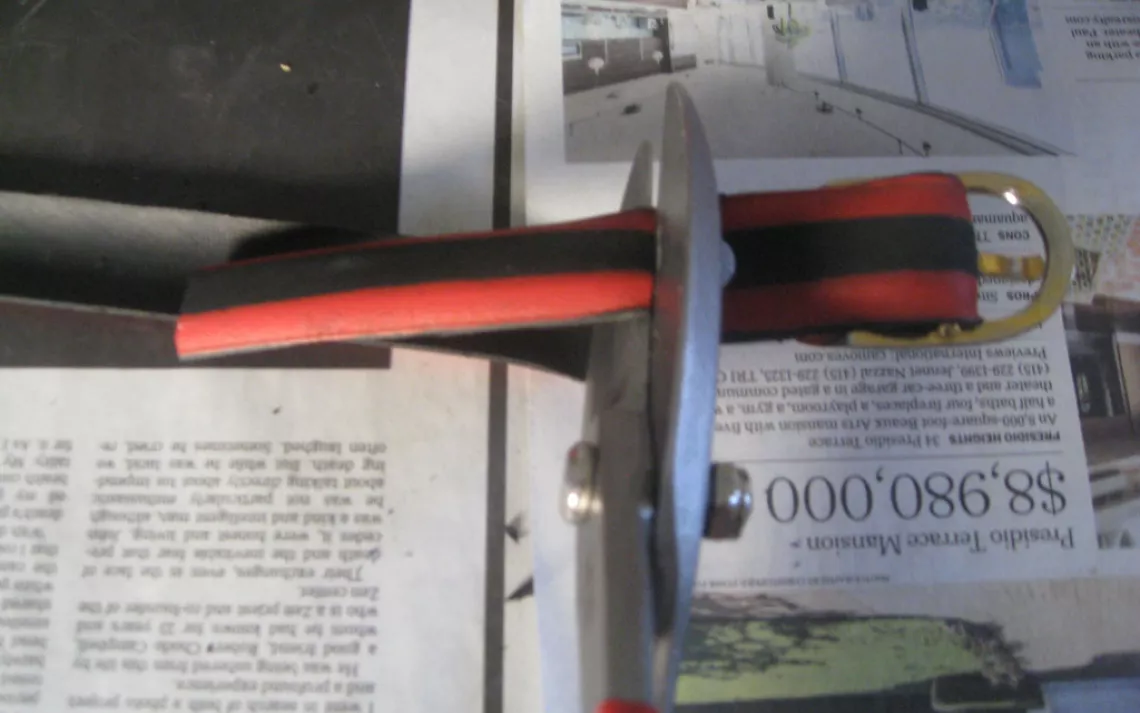
Step 9: Snip off the excess tire extending from the rivet.


Repurpose: Bike Tire Belt

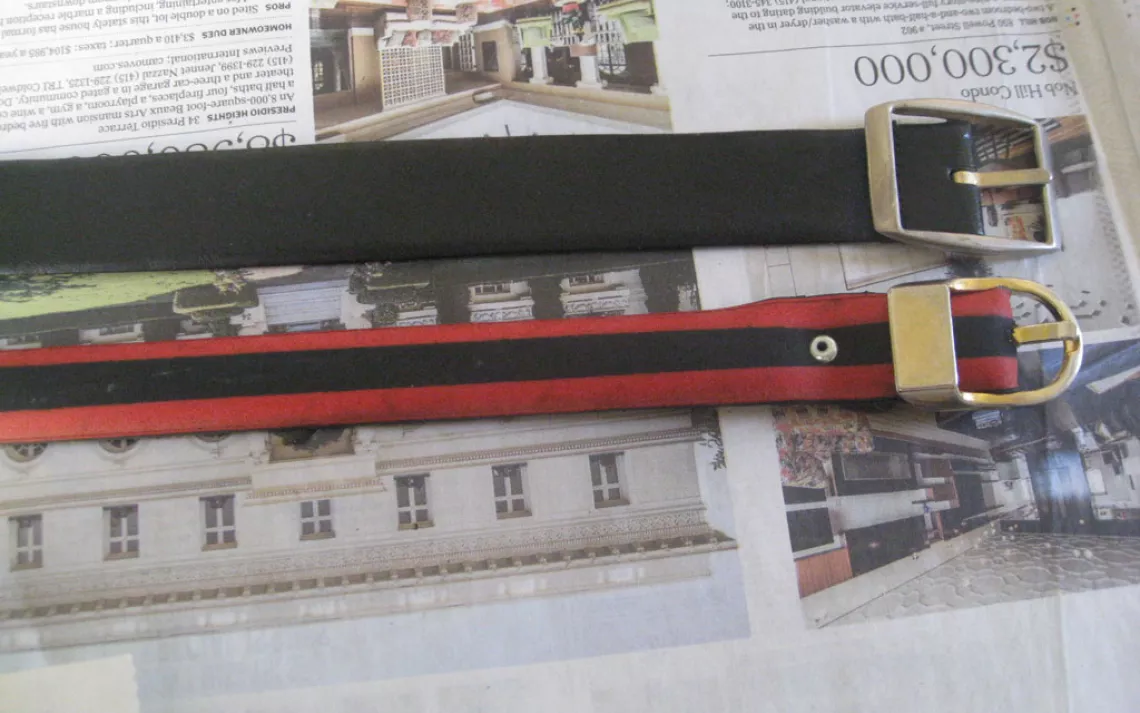
Step 10: Trim your belt down to size. The best way to do this is to lay it side by side with a belt you like and cut to the same length.

Repurpose: Bike Tire Belt

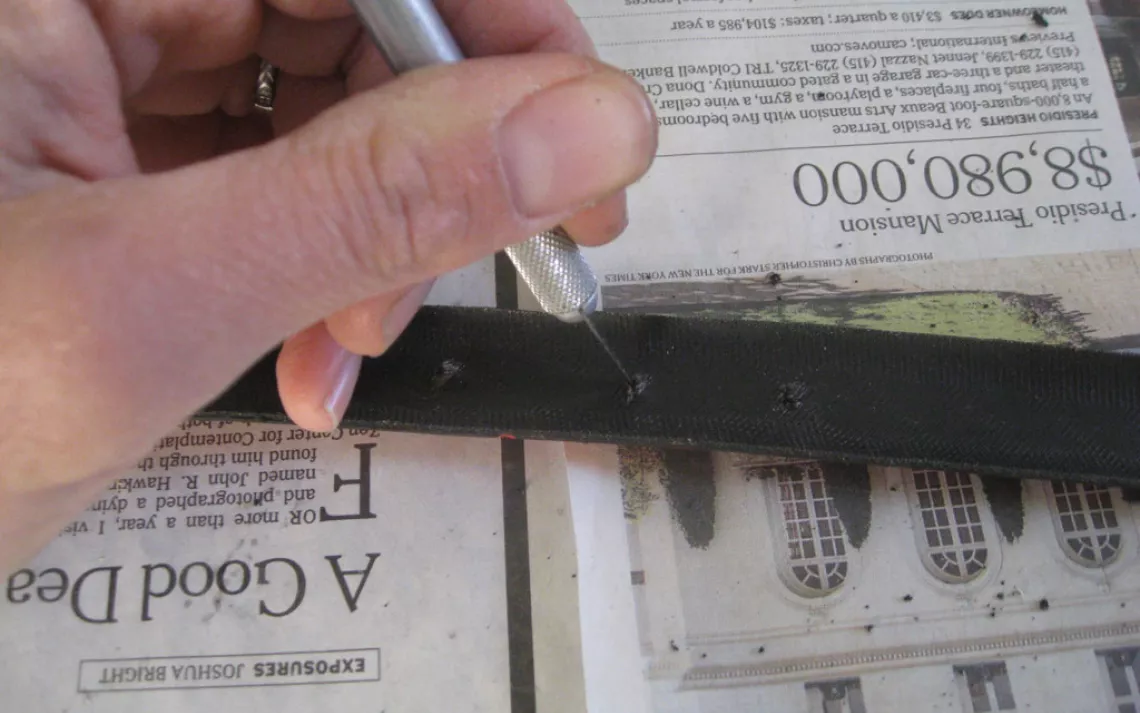
Step 11: At the other end of the belt from the buckle, mark three or four more spots about 1 inch apart from each other and drill holes.

Repurpose: Bike Tire Belt

Step 12: Use a box cutter or some sewing scissors to trim away any fragments and threads from the holes. You can also use a hole punch to tidy up, but only if your belt is made from a bigger tire.

Repurpose: Bike Tire Belt

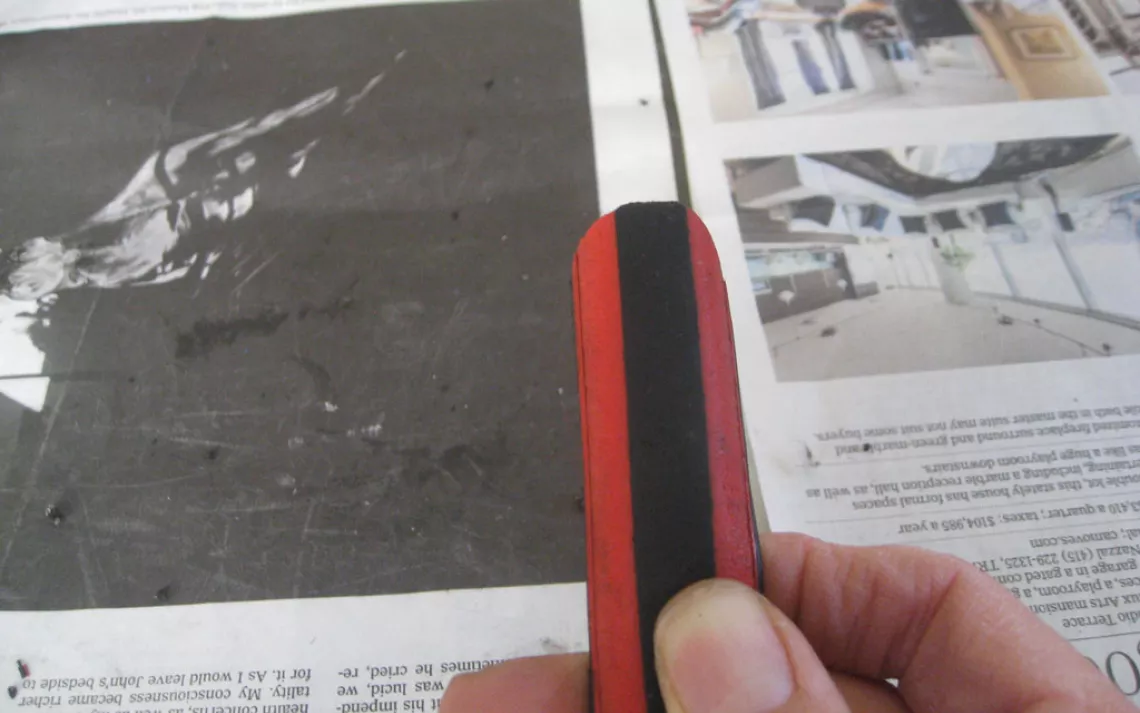
Step 13: Use the multipurpose snips to curve the end of the belt strap.

Repurpose: Bike Tire Belt

Step 14: Try on your new belt and admire yourself in the mirror.

I am going to sing the praises of the bicycle, but not how you might think. Our two-wheelers can be repurposed in so many ways once their traveling days are through. Bikes (or their various components) have been upcycled into pot racks, bar stools, basketball hoops, candelabras, and more.

The most incredible example is the prosthetic finger that Colin Macduff, a former bike shop mechanic, made out of handlebars after he lost his own finger in an accident four years ago. "It just made sense," he told me. His metal digit served as the prototype for a plastic version that he patented and now manufactures for other amputees. (See bit.ly/macduff)

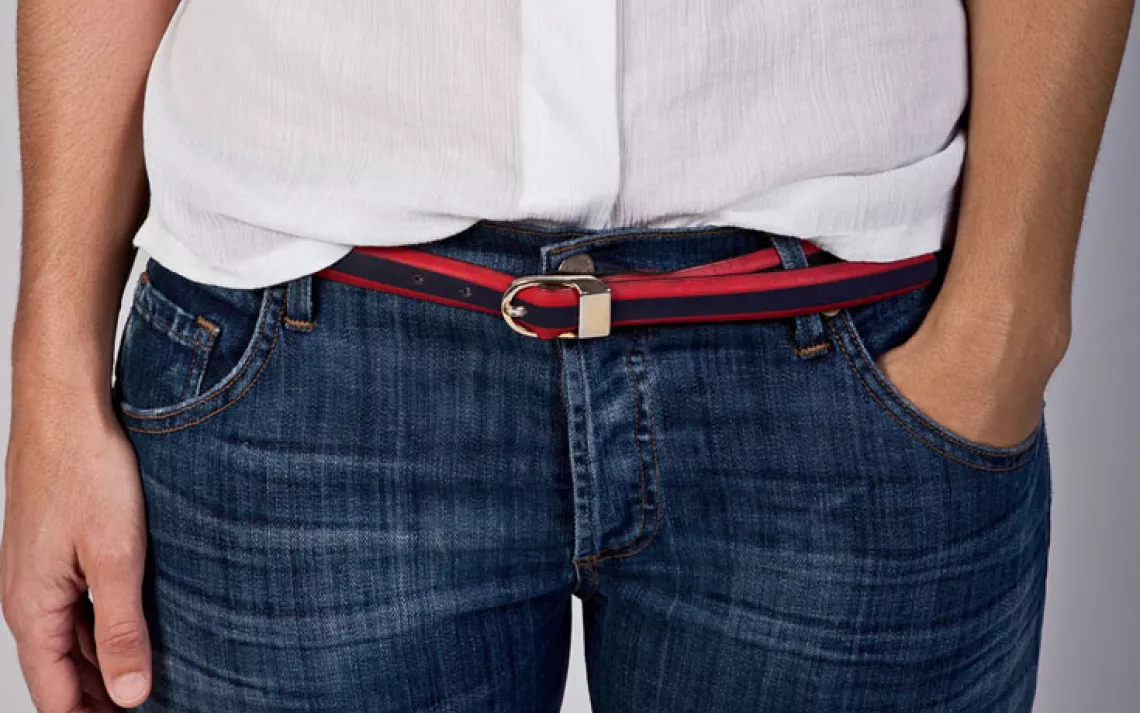
Constructing prostheses is out of my league, but I did fashion a belt from an old bike tire I found in my garage. After thoroughly washing the tire, I cut it into a strip and trimmed the width and length to fit my waist. Then, I drilled a hole through it, attached a buckle, and fastened it with rivets. Finally, I drilled a few more holes at the other end to secure the strap. It was a cinch.

DIFFICULTY LEVEL: 4 | CONSTRUCTION TIME: 3 TO 4 HOURS

You need to know how to use a riveter.

Based on a project by opendesignclub at instructables.com/id/tread-belt.