Easy Ways to Grow, Preserve, and Share Your Own Food
Embrace time-tested models of mutual aid and community food production
Remember when growing your own food was just a hobby and saving vegetable seeds was an advanced gardening move? The pandemic has spurred a rush of backyard gardening and a new interest in local food-production practices. In Victoria, Canada, a Food Eco District emerged in the wake of the coronavirus to provide backyard farms for people who were laid off, complete with felt planter containers, soil, seeds, and online gardening classes. Such endeavors are mutually beneficial for the people, animals, plants, and other organisms and ultimately help build the community resilience we need to withstand other shocks, like the climate crisis. If you want to join in, look for local initiatives like Transition Berkeley (up the street from my house), which has held monthly crop swaps for years. Here are some other tips for keeping your food supply close to home.

Making Your Own Potting Soil
To grow your own starts or windowsill vegetables, here’s a recipe for fluffy soil that holds water but also drains:
- 1/3 part finished compost
- 1/6 part perlite or lava rock
- 1/6 part sand
- 1/3 part coco coir, a renewable alternative to peat moss made from ground coconut husks
Mix well and add to your containers.
If you have lots of worm castings, you can make your own nutritive potting soil for seed starts. Milwaukee-based urban farmer Will Allen recommends this recipe:
- 1 part coco coir
- 1 part worm castings
Mix well and use in planting trays and smaller pots. The coir holds everything together but allows drainage, while the worm castings add slow-release nutrients.
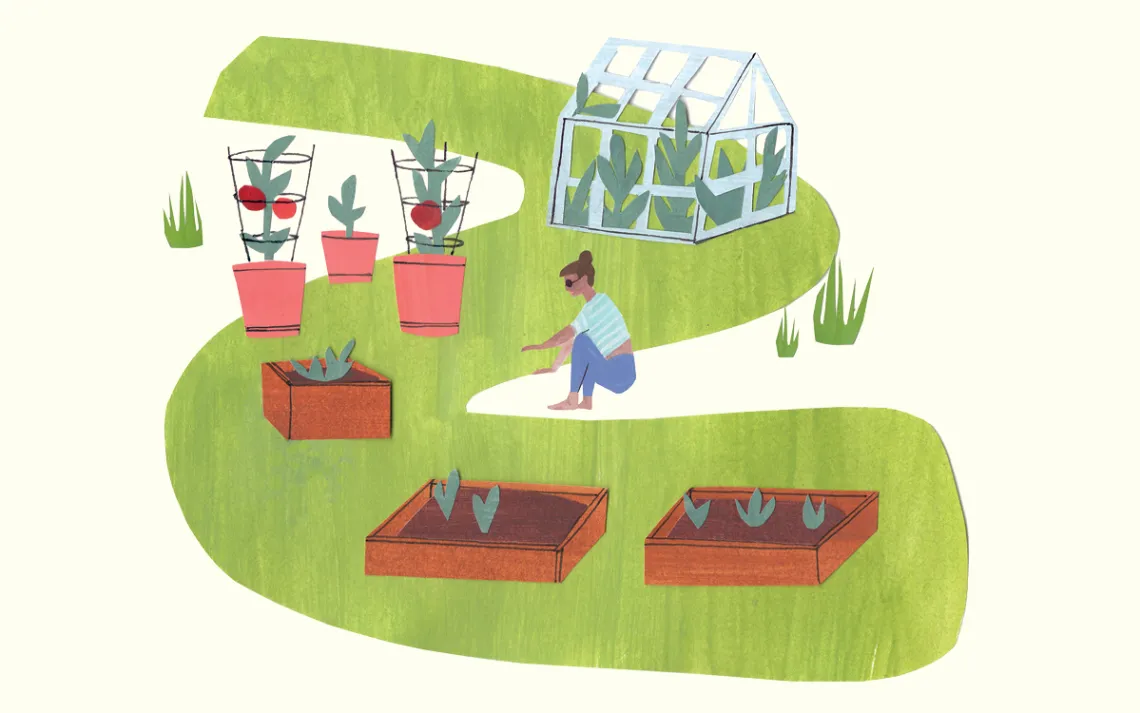
Buying in Bulk
Here’s a classic community-garden move: bulk-ordering soil and amendments. Soil delivery is expensive. My neighbor bulk-orders potting soil and compost for herself plus my household. We split delivery costs. Often, tree-trimming services will bring wood chips for free, but they usually drop 20 yards—too much for most households. If you can get your neighbors to agree to take five yards each, enough to mulch a midsize backyard, then you’re in business!
Saving Seeds
Seed saving at a local level makes sense: Each generation of seed becomes more adapted to the microclimate in which it’s saved. Because it’s been difficult to buy seeds since the pandemic struck, backyard gardeners would be wise to save some seeds this fall to plant next spring. Start with foolproof plants like peas, beans, lettuce, sunflowers, dill, arugula, and parsley. Remember, you can only save seeds from open-pollinated plants; that is, hybrid plants won’t make true-to-type seeds. Check the seed packet or nursery label—F1 denotes a hybrid variety.
Here’s how to collect and dry your own seeds:
- After a plant has completely bolted (flowered), let seeds set on the plant until they swell and the plant turns brown. Allow bean and pea pods to dry out completely on the vine. (This takes quite a while and doesn’t look pretty!)
- Gather seed heads or pods into paper bags and dry them further in a dark, dry spot (like a garage) for 10 days or so.
- Once you think they’re ready, do the smash test: Tap a seed with a hammer. If its coat shatters, the seed is adequately dry. If it doesn’t, the seed is too wet and may mold in storage.
- Seal dry seeds in a mason jar or Tupperware.
- Label your container with seed type and date saved! This information is crucial for seed swapping, as many seeds look identical.
- Share your seeds with neighbors and friends. (Seeds should stay viable for two years.)
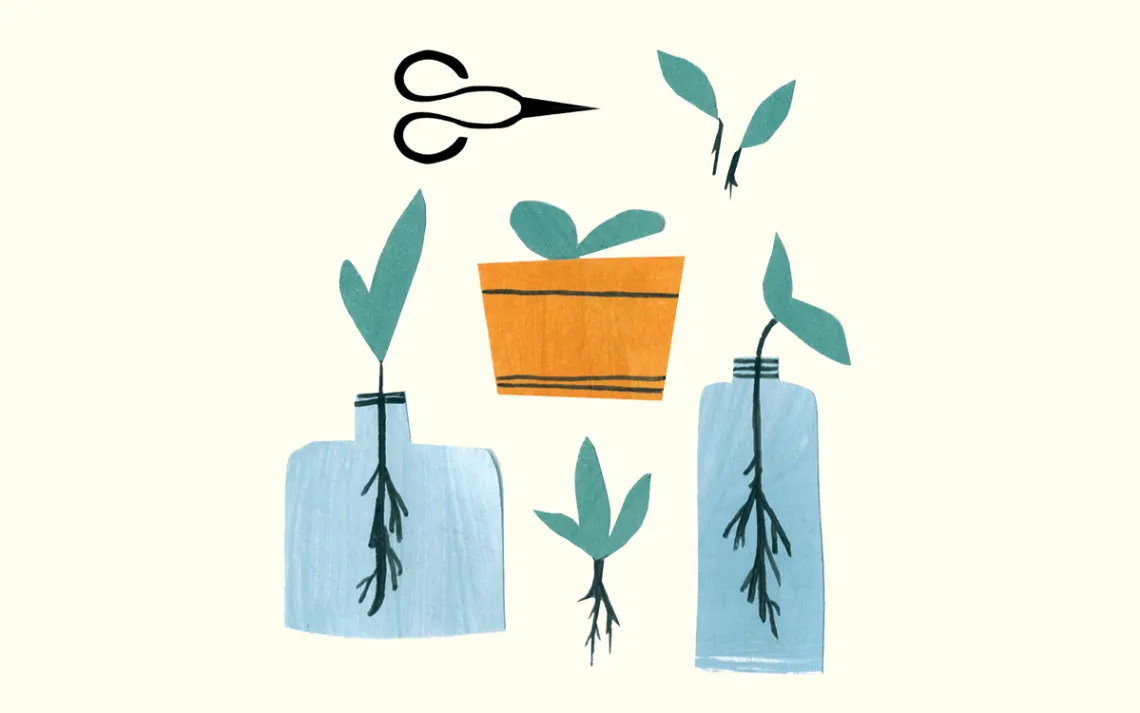
Propagating Plants
Not all plants must start from seed. Taking cuttings, or making root divisions, is a great way to propagate plants—meaning more for yourself and to share with neighbors and new gardeners.
Smart autumn cuttings include asparagus, mint, Jerusalem artichokes, oca, sage, comfrey, and echinacea. Allow the plant to die back, then dig up the roots. With a hori-hori knife or a shovel, divide the root mass into two or more plants. (Yes, it’ll feel like you’re literally sawing the plant in two!) Place divisions in pots, cover with soil, and label. By spring, successful divisions will show new growth. In early spring, you can take root divisions from rhubarb and dahlia plants in the same way.
Herbs such as rosemary, sage, and oregano can easily be snipped to make new plants. Ornamentals like verbenas and geraniums that provide food for butterflies, birds, and beneficial insects can also be propagated with cuttings.
Joining an Animal Collective
Keeping animals is a form of intrinsic mutual aid: You feed the animals well and keep them safe, and they provide you with eggs or milk, their manure to use in the garden, and hours of entertainment. Pets with benefits, I always say.
When the pandemic struck, California’s Alameda Maker Farm started a 22-chicken collective (the birds are fed spent grain from a local brewery) that’s now netting 100 eggs a week. They built a community coop (practicing social distancing, natch) over a weekend. Members regularly pick up a dozen eggs, plus chicken manure for their compost piles, and they share chores like coop cleaning, feeding, and watering as well as costs (feed, vet bills, and hay).
Animal collectives only work when communication is clear and members are on the same page in terms of expectations. “We are caring for living creatures; you can’t set it and forget it,” says Molly McGee, a former rancher who had a goat and sheep collective in Santa Cruz, California. “So getting a dedicated crew is often the biggest challenge.”
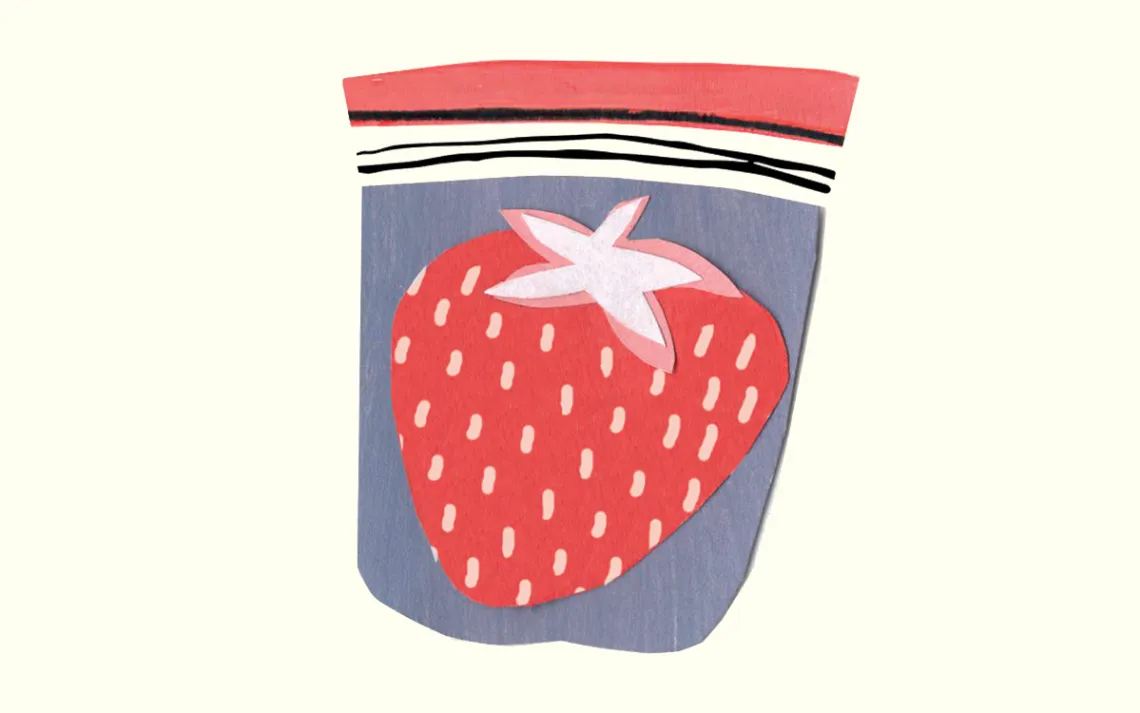
Preserving Food
Have you and your neighbors found yourselves with a glut of produce in summer? Whether you have bags of tomatoes, baskets of apricots, or too many strawberries, the key is to preserve them in jars so you can store and share them through the fall and winter.
Water-Bath Canning
Use this technique for jams and jellies, chutneys, sliced fruit in sugar syrup, and canned tomatoes with added lemon juice. Pour contents into heated jars, screw on the lids, then place in a big pot of boiling water, submerging the jars so they’re covered with two inches of water. Process for the appropriate amount of time (check the National Center for Home Food Preservation), pull the jars from the water bath with tongs, and let them sit. As the jars cool, the lids will seal, making a satisfying popping noise. Remember to label and date them, then place some on your neighbor’s porch. For meat, fish, and low-acid vegetables, get a pressure canner and follow the directions.
Dehydrating
Dehydrating produce is super easy if you have an oven with a pilot light. Slice fruits like persimmons or vegetables like zucchini thinly and place them on baking trays lined with parchment paper or silicon mats. Slide the trays into the unheated oven and let the slices dry out over a period of days, occasionally turning them. For wet fruits like peaches, apricots, grapes, and tomatoes, use a food dehydrator. Once the fruit is dry, store it in jars or bags for up to one month. To enjoy dried fruit through the winter, use seal-a-meal gadgets to remove all air from the storage containers.
Freezing
This might be obvious, but if you have freezer space, storing summer’s bounty in ziplock bags, jars, or repurposed yogurt containers works well, especially when it comes to crops like tomatoes and blueberries. Just drop the fruit into the container, then label and freeze until you’re ready to use. Frozen homegrown garden tomatoes taste way better than store-bought canned tomatoes.
Fermenting
If it’s just you in your no-pets-allowed apartment, you can still tend to a flock of wild yeast and bacteria! In his groundbreaking book, Wild Fermentation, Sandor Katz made the argument that cultivating microbes in your food makes the food more digestible and healthful.
An easy ferment to start with is sauerkraut. Here’s how to make it:
- Chop cabbage (red or green; both work great) finely, then put it in a large mixing bowl.
- Sprinkle about 1 tablespoon of kosher salt (not sea salt) per 1 ¾ pounds of cabbage.
- Massage cabbage and salt together. You want to really squeeze it. I sometimes beat mine down with a pestle or a wooden mallet. It’s ready to pack when the cabbage seems limp and releases some water, after about eight minutes of massaging. Pro tip: If you’ve got it, add a little of your previous batch of sauerkraut to the mix, even just the juice of the kraut—this inoculates the batch with the good lactobacillus you’ll need for fermentation. (If you don’t have it, it’s OK, as lactobacillus is naturally occurring on cabbage leaves.)
- Add some spices—popular ones include classic caraway, spicy red-pepper flakes (if you like some heat with your funk), and a clove or two of garlic.
- Stuff softened cabbage into a mason jar, tamping each handful down before adding another. Really pack it in so there’s no air, just cabbage and juice. One average-size cabbage will fill a quart mason jar. If cabbage water doesn’t cover your chopped-up contents, add a bit of water (this is cheating, but you definitely don’t want to have leaves exposed to air; they’ll mold).
- Weigh down the proto-kraut and cover it to keep out flies and dust (but don’t screw on the lid). I set a ziplock bag filled with water on top of the kraut.
- Store in a cool place—a kitchen countertop is fine. Taste after seven days to check the flavor. You might need to add more salt to taste. When the kraut is at a point you like, screw on the lid and put the jar in the fridge; otherwise, the cabbage will continue to ferment.
This article appeared in the September/October 2020 edition with the headline "Planting for the Future."