How—And Why—to Plan a Wintry Camping Trip
Pro tips for adapting your warm-weather camping gear and surviving the cold

Photos by Conor Mihell
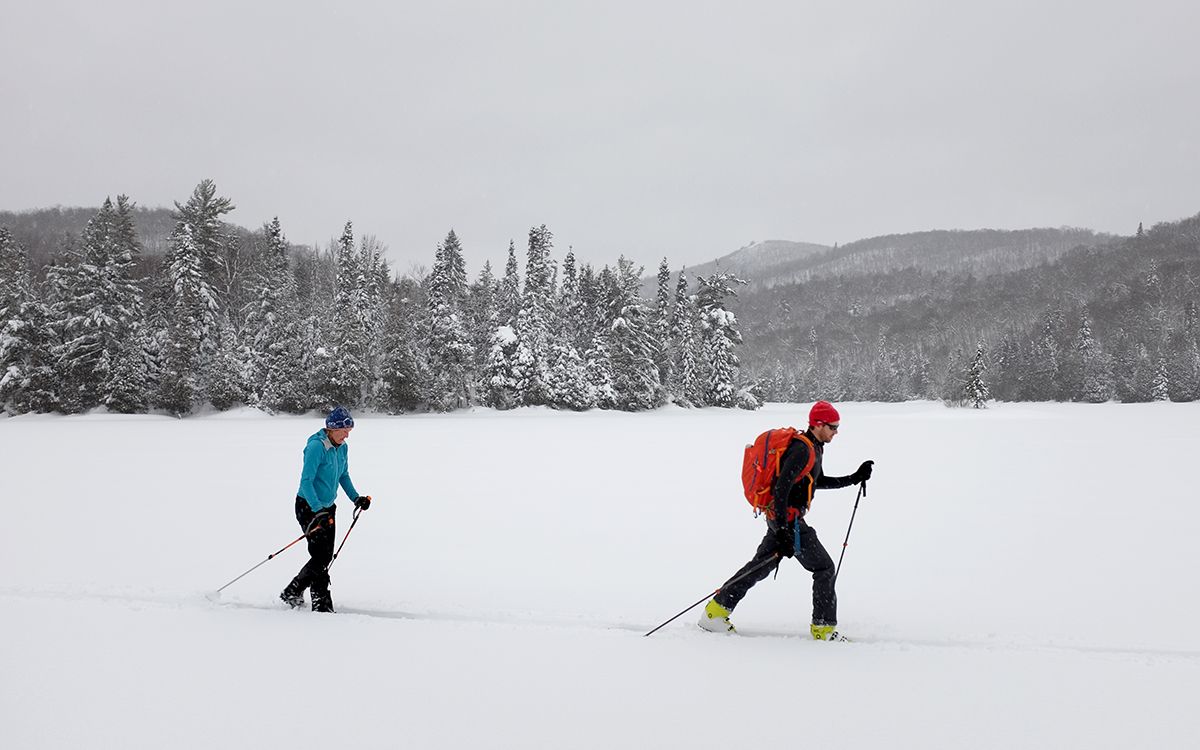
As the coronavirus pandemic continues to flood the Great Outdoors with born-again nature enthusiasts, the allure of winter camping, for me, has been heightened. When the woods are snowy, most people only venture in for a partial day; a muffled silence returns as afternoon shadows lengthen, as if the landscape is preparing for a long sleep. While camping in March can never match the ease of a summer adventure, I’m especially fond of it—that fleeting, bittersweet period when you can sense the looming arrival of spring, when bluebird days offset crisp, star-filled nights. Of course, you need to give snow-camping planning some extra consideration, but much of that comes down to simple modifications to your summer gear and routines. Here’s how to embrace cold, crowd-free camping.
Where to Go
Drive-in campsites provide low-risk places to adventure in the off-season, and many regional, state, and national park campgrounds are open year-round. When you’re ready to venture deeper in the wilderness, choose areas below the treeline with minimal exposure to winds. Remember that most campsite tasks take longer in winter—so build a buffer into your travel itinerary.
Campsites and Tents
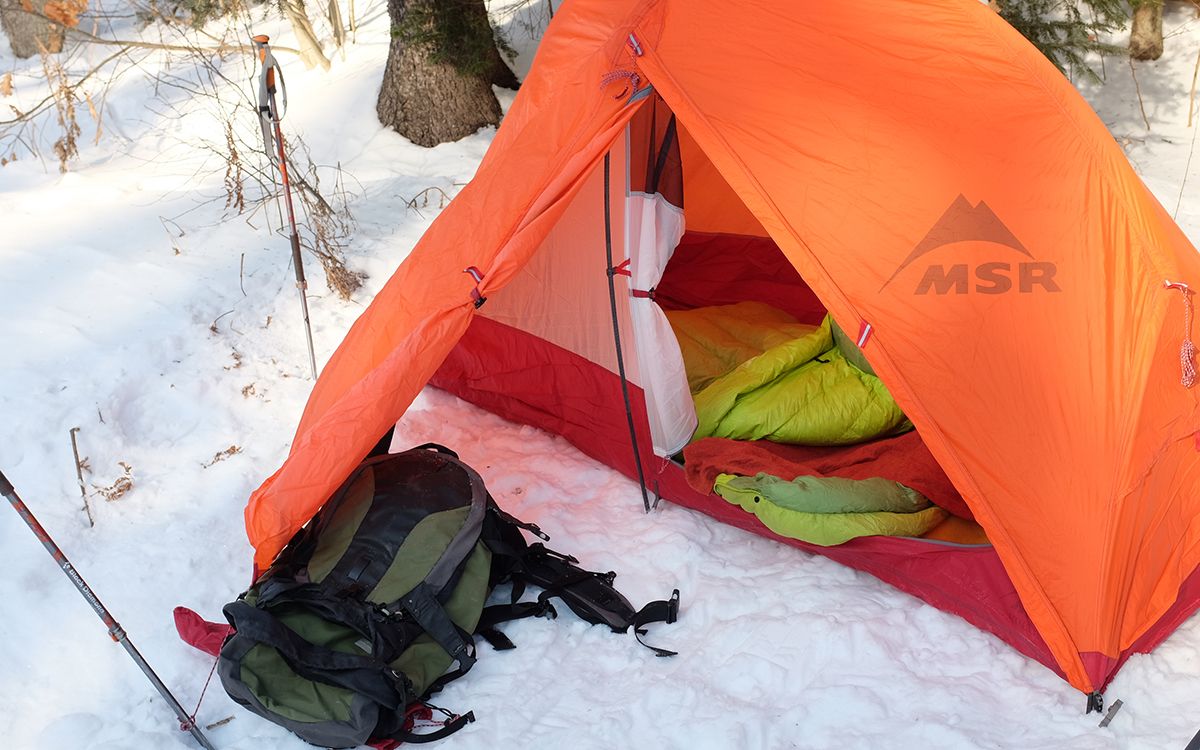
Shelter from the wind is a priority when selecting a campsite. Access to open water (such as a stream) makes cooking much easier. Three-season tents are fine for moderate winter use; however, their mesh inner walls are drafty, and their relatively light poles cannot stand up to heavy snow. My go-to tent for year-round camping is the MSR Access ($600 for the two-person model), which is remarkably light, strong, and spacious; it’s also breathable enough to use in warm weather. Once you’ve found a place to camp, pack down the snow and allow it to settle for at least 20 minutes before pitching your tent. If you have time, dig down into the snow to create a windblock. Use skis and poles to anchor the corners of your tent and buried stuff sacks to secure guylines.
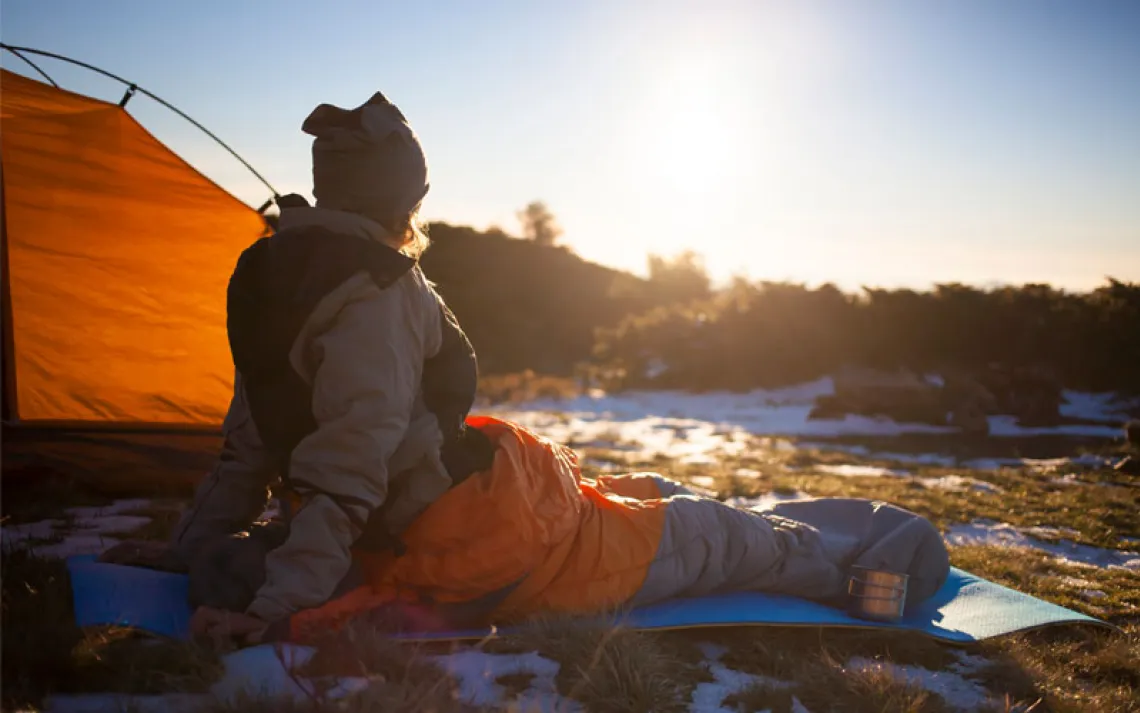
Sleeping Warm
The adage of investing in the best sleeping bag you can afford is especially true when it comes to winter camping. The 15-F Sea to Summit Ascent ($399 to $419) uses lofty, water-resistant and responsibly sourced down insulation and has vertical panels in place to keep the down from shifting around your torso. Plus, multiple zippers on the sides and footbox provide great ventilation, meaning you can use this bag year-round. A liner adds winter-worthy warmth to a three-season bag. The All-Paca Liner from Appalachian Gear Company ($112) is made from cozy alpaca yarn and boosts your bag’s rating by up to 15°F while packing as small as a 32-ounce water bottle.
No matter your sleep system, a closed-cell mat under your self-inflating sleeping pad adds insulation from the cold ground. Bring a hot water bottle to bed and stoke your internal furnace by eating a high-calorie snack before turning in. Sleep in dry base layers, socks, and an insulated hat (I like pulling a fleece headband over my nose and eyes); add a puffy jacket if you’re a cold sleeper.
Winter Camp Cooking
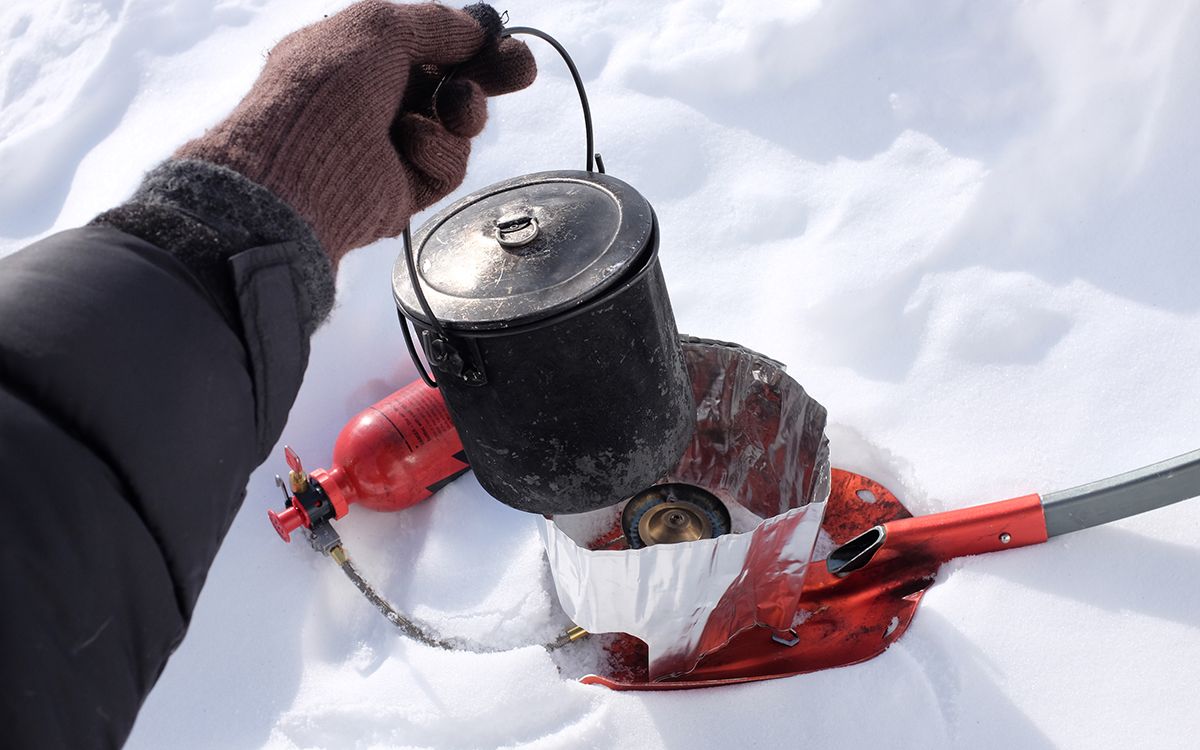
Keep the menu simple. On short outings, freeze entire homemade meals like stew or chili and simply rewarm them in camp. Don’t skimp on the calories: Winter campers add globs of butter to everything, from hot chocolate to oatmeal and dinners. Fatty breads like fruitcake as well as cheese, crackers, and nutty trail mixes make good, quick lunches. Getting water for cooking and drinking is often a challenge this time of year—look for open-water streams or chunks of ice (make sure you boil the water to kill pathogens); most often, you’ll have to melt snow—a tedious process that’s hastened by “priming” your melting pot with a bit of liquid water. Warm the snow over low heat until you have a layer of liquid on the bottom of the pan to prevent scorching. A liquid fuel stove like the MSR Whisperlite Universal ($150) is reliable in cold weather, unlike canister stoves. Create a cooking platform with a square of plywood or use a collapsible shovel as a stove base.
What to Wear
Adding a few more insulating layers to your usual spring and fall wardrobe is a good place to start. I always pack two sets of base layers—one for traveling and one for in camp. The number of mid-layers you wear depends on the temperature and your body’s physiology; the goal is to be warm enough, just below the point of sweating. Shell layers for the top and bottom are essential to shield yourself from the wind. Pack an insulated jacket and pants to stay warm in camp, and always bring several pairs of gloves and mitts (in case one gets wet).
How to Stay Comfortable
It’s normal to wake up to a frost-caked sleeping bag. Brush off as much ice as possible and you’ll be amazed how much moisture disappears once you pack up your bag. On multiday trips, take any chance you get to air-dry your sleeping bag in the sun.
Tips for Traveling
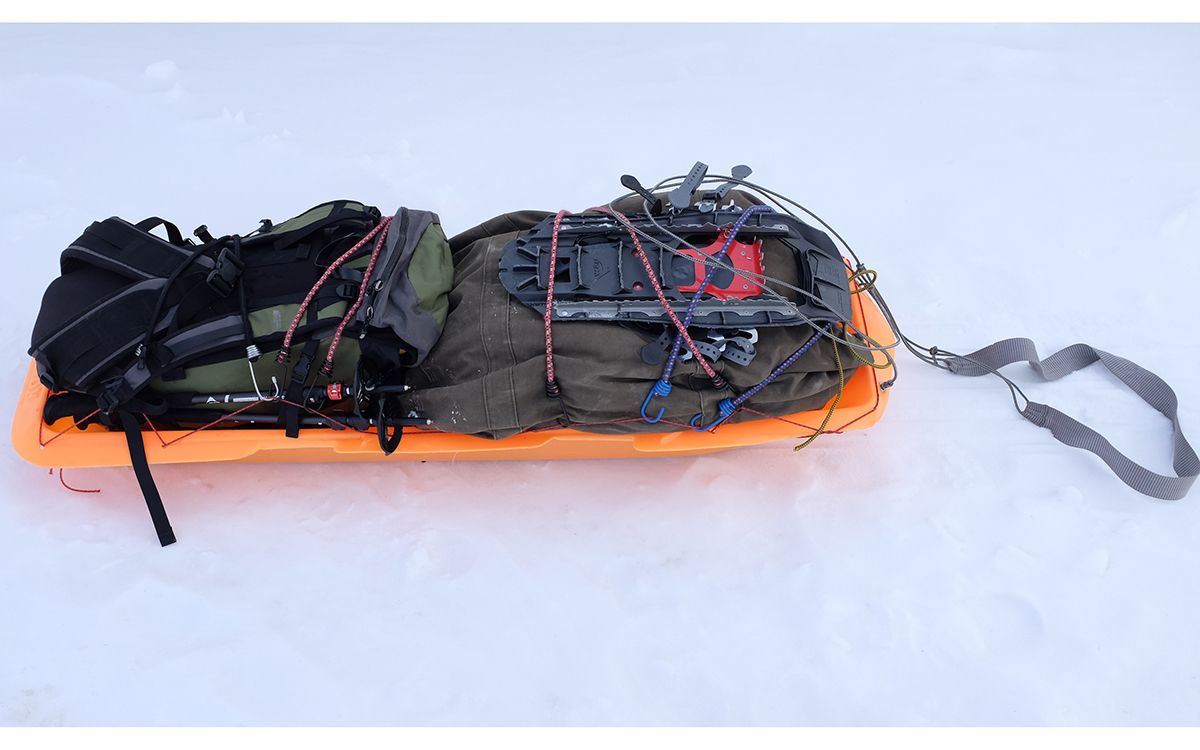
I prefer dragging my gear on a plastic sled (mine is a lightweight, hardware-store model) to carrying a backpack. I secure duffels and gym bags to the sled with bungees. Some winter travelers use rigid poles for hauling (they prevent the sled from overtaking you on hills), but my basic rope harness affords easier access to the sled when I stop for a break.
 Leaving No Trace
Winter camping is inherently low-impact, since your traveling and camping surface melts away come springtime. Since it’s virtually impossible to dig catholes for human waste when the soil is frozen, the best practice is to bury it in shallow snow away from waterways; freeze-and-thaw cycles and exposure to the sun will kill pathogens. Research best practices in your travel area. Toilet paper should be packed out or, better yet, use snow wipes. Winter campfires usually don’t burn completely and leave unsightly charred logs, so use a gas stove and bring a candle lantern for use inside the tent. Finally, remember that winter tests the endurance of wildlife, so make sure to give any critters you encounter plenty of space.